
I originally had a sketchbook but due to the circumstances have decided to use this blog to act as a critical journey, which will follow my independent researching, learning and establishing my conceptual development skills. As I have not got all the resources I originally would have used within my sketchbook this will be a journal of me uploading my notes from my sketchbook but also a journal for me to gather and reflect on my ideas for and of my final project proposal.
First Brief:
ASS/CRITERIA – Engagement/ research in chosen module, Effective communications (blog) whether or not it is a success, try and be experimental
I have decided to create a list on what I need to achieve awards the end of this module (still image).
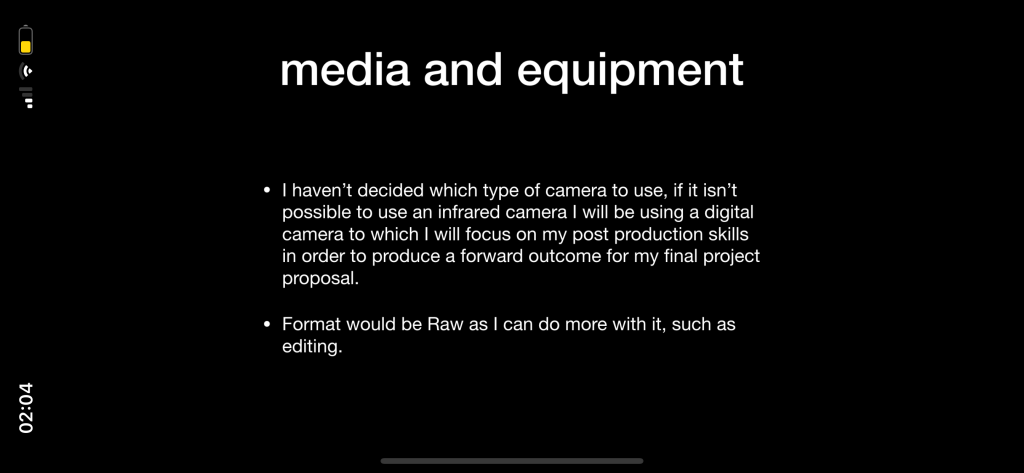
1. Final concept have to be three or four colour portraits using a DSLR Camera (preferably in a studio) 2. Have to shoot in Raw, this is because the quality is better and you have more to work with in terms of post production. 3. Post production making the images look like they are infrared images.
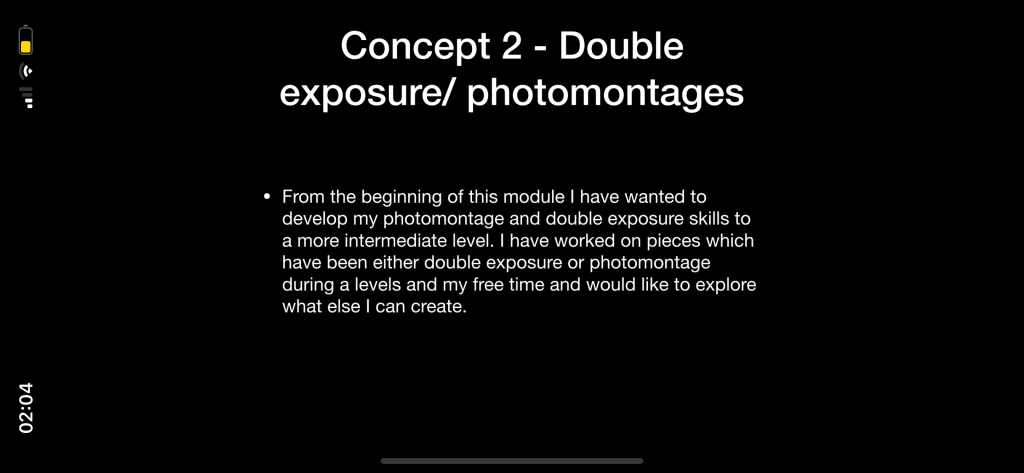
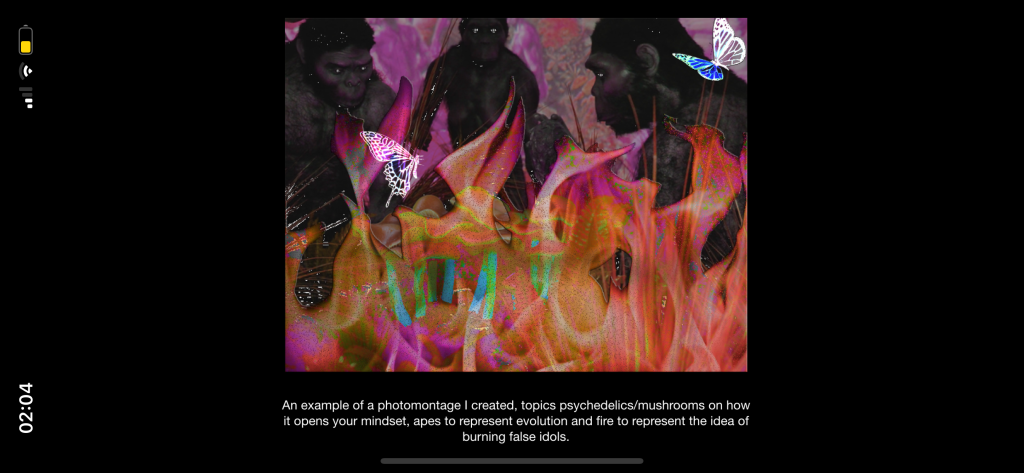
2. Final concept idea two, have a collage/ photomontage that has an important message which is relevant today. I would use different types of images or work from my own and maybe others and would be more of a post production concentrated piece.
Overall from this module I want to refresh and further develop my technical skills on lighting, using DSLR cameras as well as post production and establish if this is a pathway I want to pursue in the future.
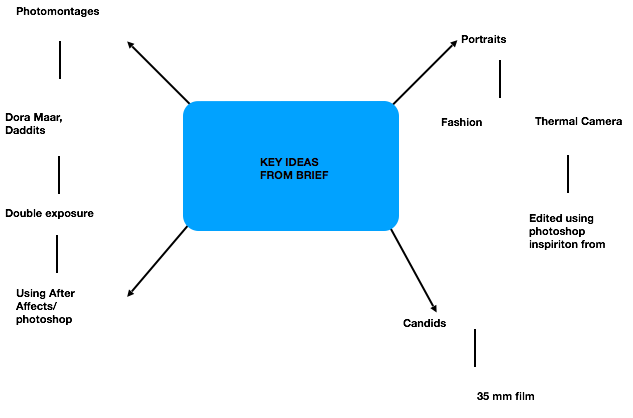
Initial Ideas Mind Map –
An example of a photomontage I was inspired by.
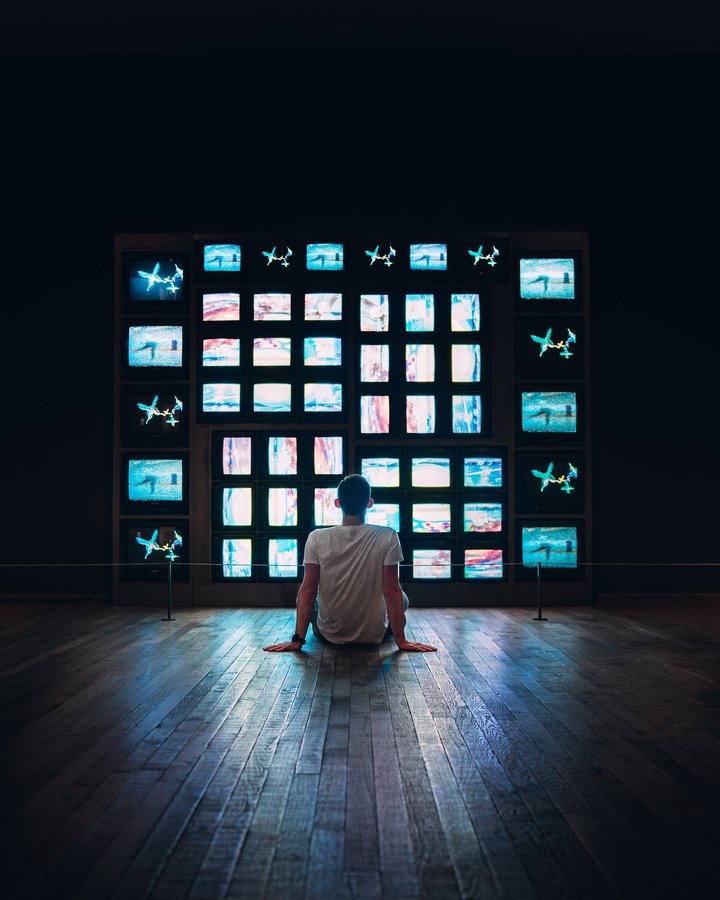
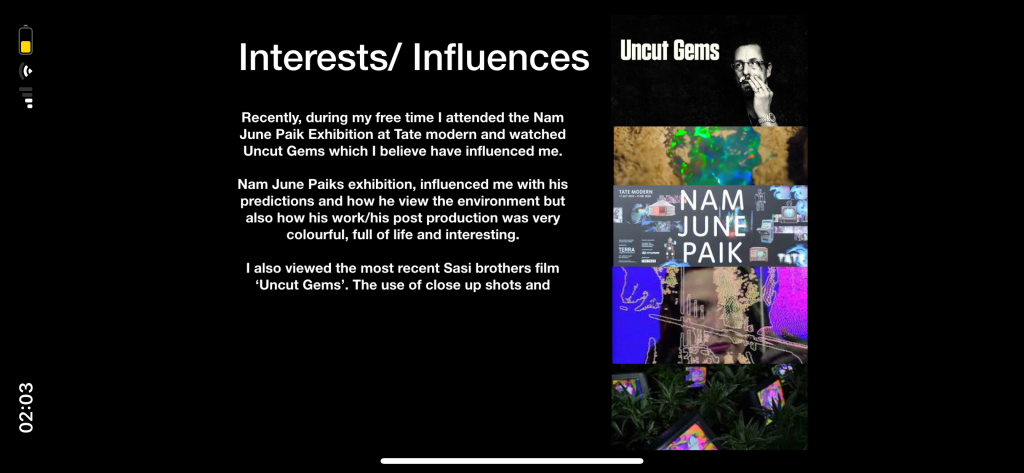
Nam June Paik – EXHIBITION AT TATE MODERN
Nam June Paik, Nam June Paik was a Korean American artist. He worked with a variety of media and is considered to be the founder of video art. He is credited with the first use of the term “electronic super highway” to describe the future of telecommunications. What I learnt from this ? During this exhibition I was enlightened towards Nams approach to things and how he embraced, predicted and visioned society, such as mass media and new technology. I especially enjoyed his 1971 TV Eye glasses piece, the use of overlapping different mediums/images, almost like a collage. Which has made me consider that it could be interesting overlapping images or using different materials to interpret into my own ideas for my final project proposal.
Black and white Photograms – 27/01/20
Taking/ making our first black and white print, was the lesson we had. I have some previous experience with Black and white film and photograms from A levels. However, it has been a few years since I had done them. Therefore, this session was quite significant to me as I was able to refresh and improve my skills.
Preparing the printing equipment, any enlarger to make the prints on, printing paper, I think the one I used was the ILFORD one, darkroom accessories. Your negatives.
After you have taken your prints, you need to use chemicals in order to get the final result. For instance Ilford Multigrade, developer makes the image/ print appear on the paper. Ilford Ilfostop, or acknowledged as stop bath brings development to and end, and prolongs the life of the fixer.
Next you put your prints into the Milford raps fixer, this makes the developed image permanent.
You can make up and use the fixer and stop for more than one image
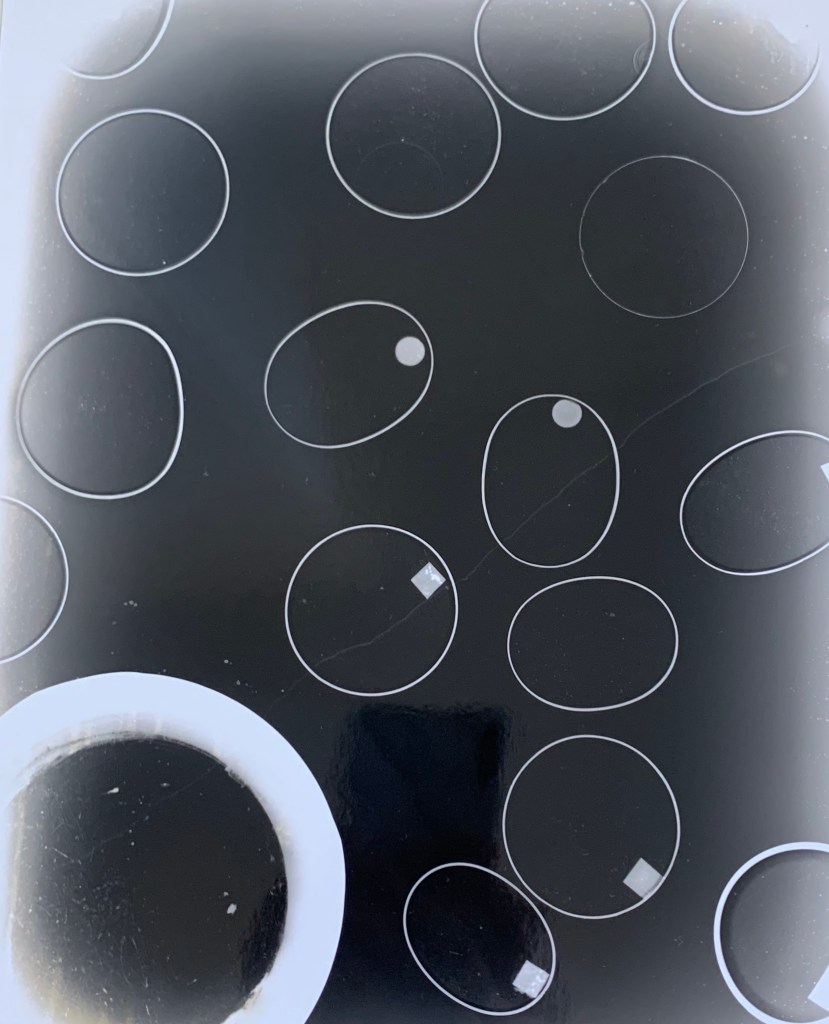
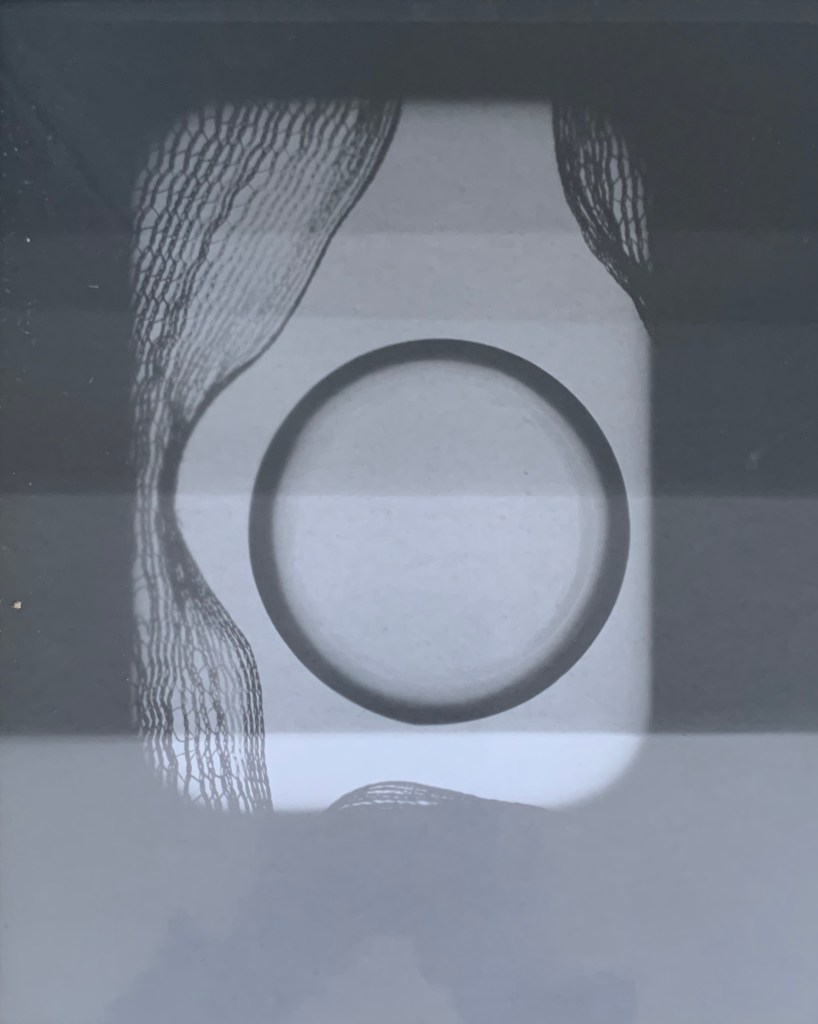
Things I used and things, plastic bottles, glasses lenses and strings from scarves. If I had the chance to do this again I would use jewellery maybe Petri dishes with different things in them.
Below I have inserted my prints.
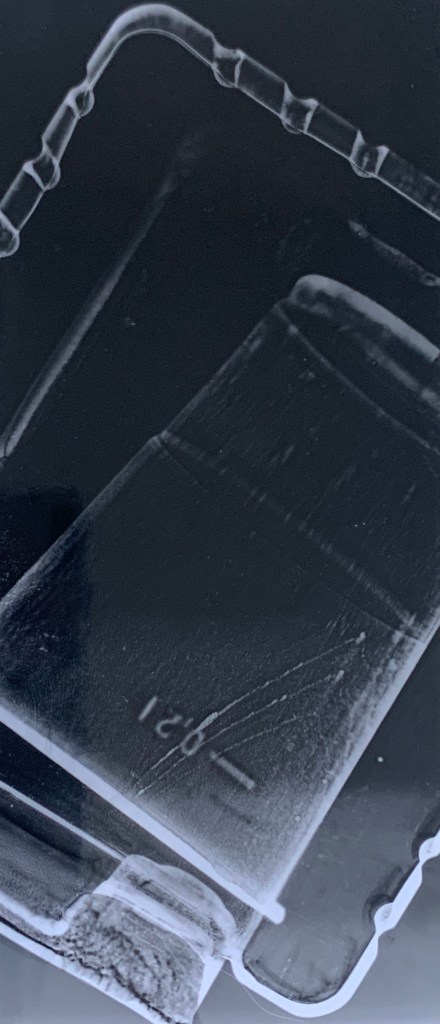
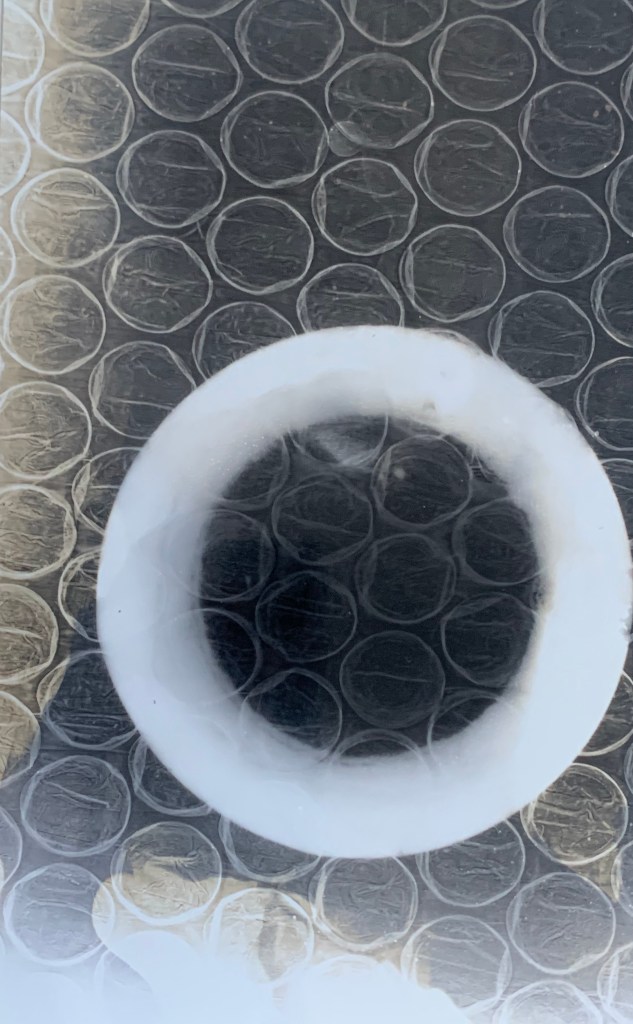
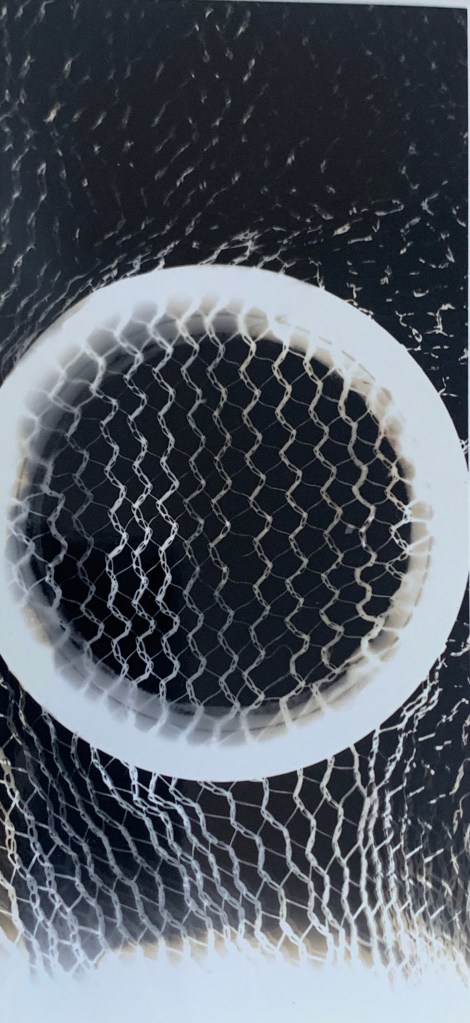
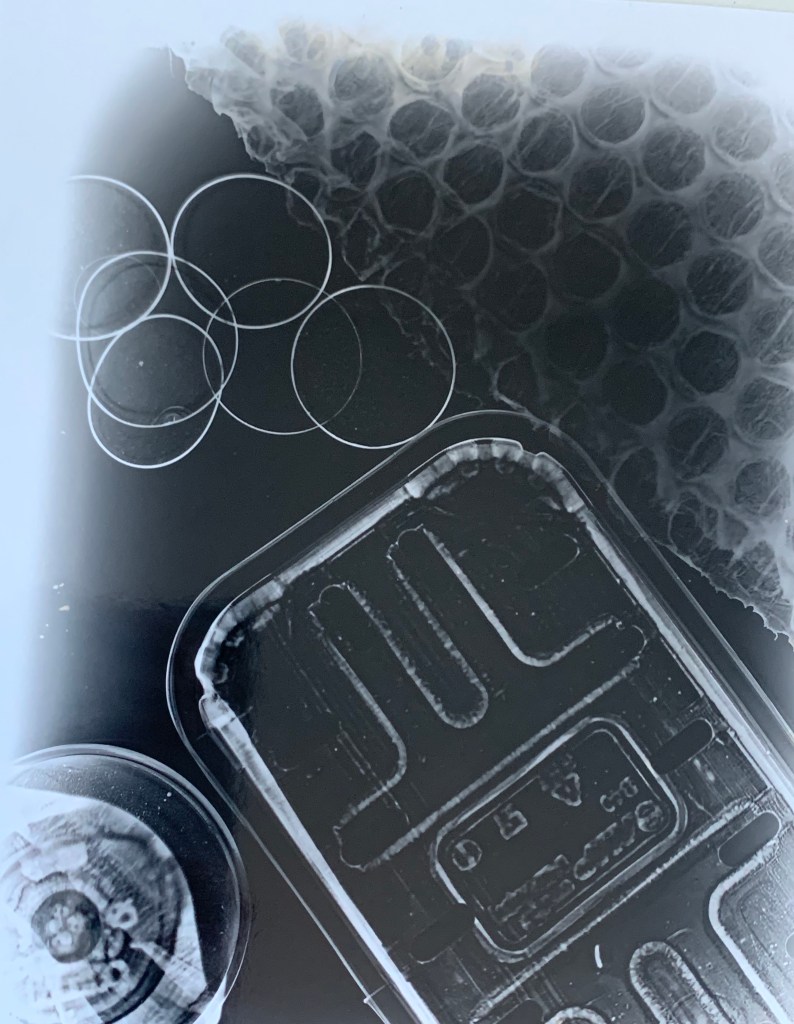

Here I tried to make it look like that as each section of the picture ir transformed bu getting lighter. 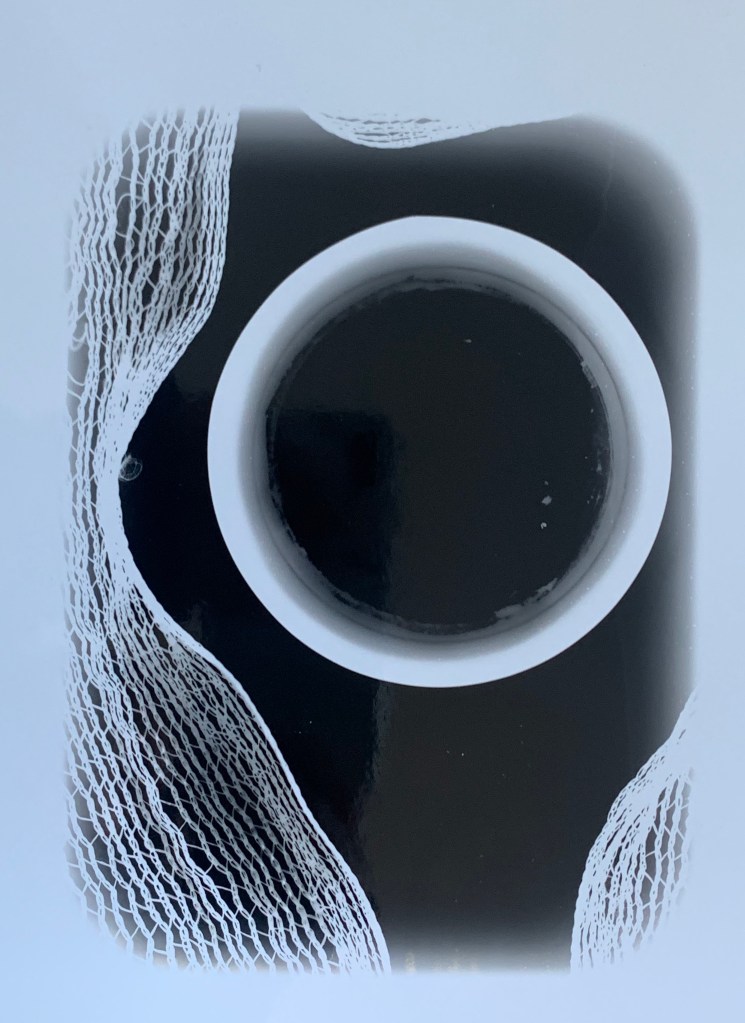
What I learnt from this was that printing a negative is trial and error and you cannot expect to get a perfect outcome just like that. I recalled enjoyed this lesson as it was a refresher for my to improve my skills and I would like to explore this more in the future.
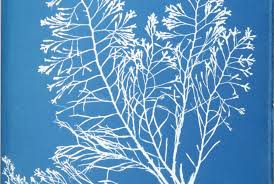
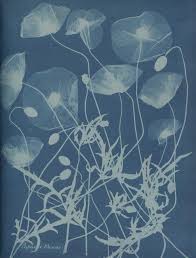
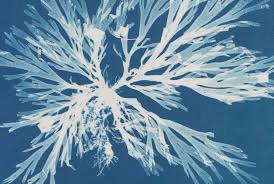
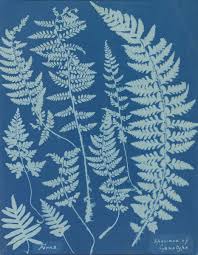
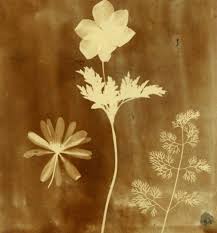
Anna Atkins –
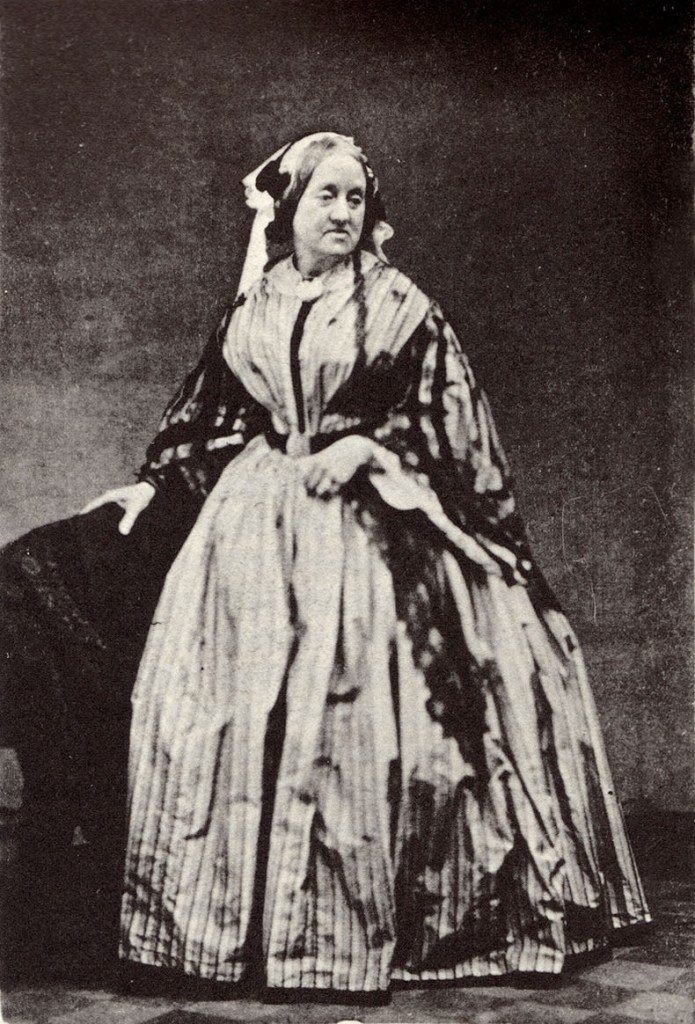
Anna Atkins was an English botanist and photographer. She is often considered the first person to publish a book illustrated with photographic images. Some sources claim that she was the first woman to create a photograph. Atkins came to know both William Henry Fox Talbot, a pioneer of early photography who invented a process of creating photographs on paper treated with salt and a solution of silver nitrate, and Sir John Herschel, the inventor of the cyanotype printing method. She became interested in the cyanotype process which produced images through so-called sun-printing. The object is placed on paper which has been treated with ferric ammonium citrate and potassium ferricyanide, after which it is exposed to sunlight and then washed in water, leading to the uncovered areas of the paper turning a dark blue. The process, known as blueprinting, was later used to reproduce architectural and engineering drawings, but Atkins chose to use it for what is considered to be the first work with photographic illustrations, namely her Photographs of British Algae: Cyanotype Impressions (1843).
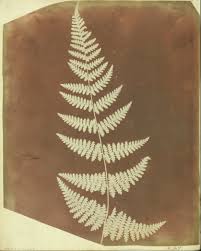
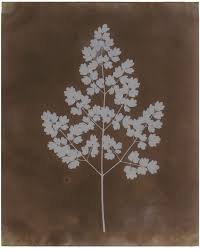
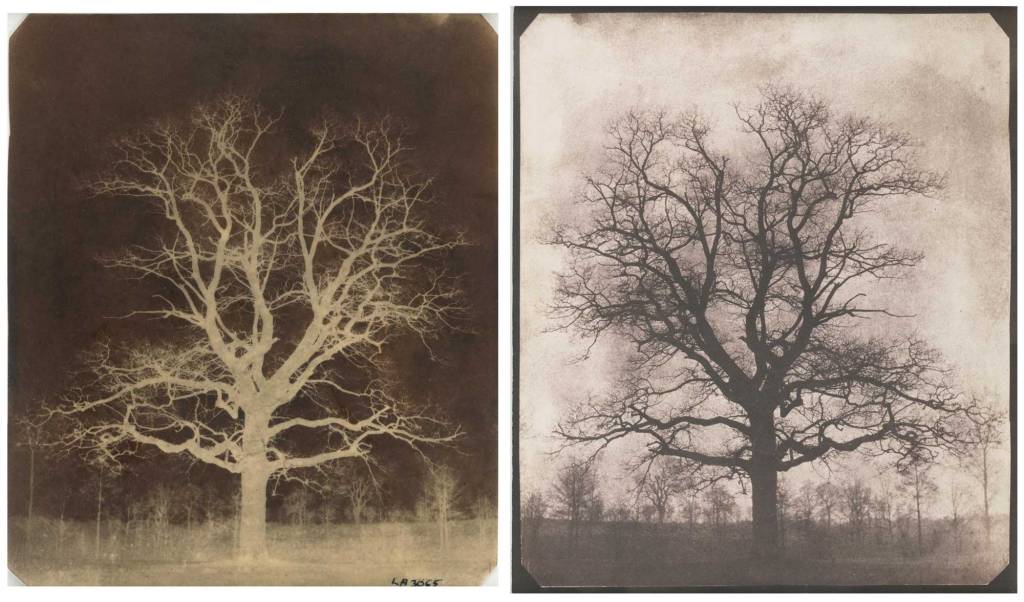
William Henry Fox –
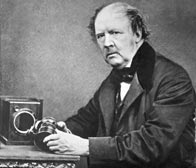
Was an English member of parliament, scientist, inventor and pioneer of photography. Fox Talbot reported his ‘art of photogenic drawing’ to the Royal Society. His process based the prints on paper that had been made light sensitive, rather than bitumen or copper-paper.
Fox Talbot went on to develop the three primary elements of photography: developing, fixing, and printing. Although simply exposing photographic paper to the light produced an image, it required extremely long exposure times. By accident, he discovered that there was an image after a very short exposure. Although he could not see it, he found he could chemically develop it into a useful negative. The image on this negative was then fixed with a chemical solution. This removed the light-sensitive silver and enabled the picture to be viewed in bright light. With the negative image, Fox Talbot realised he could repeat the process of printing from the negative. Consequently, his process could make any number of positive prints, unlike the Daguerreotypes. He called this the ‘calotype’ and patented the process in 1841. The following year was rewarded with a medal from the Royal Society for his work.
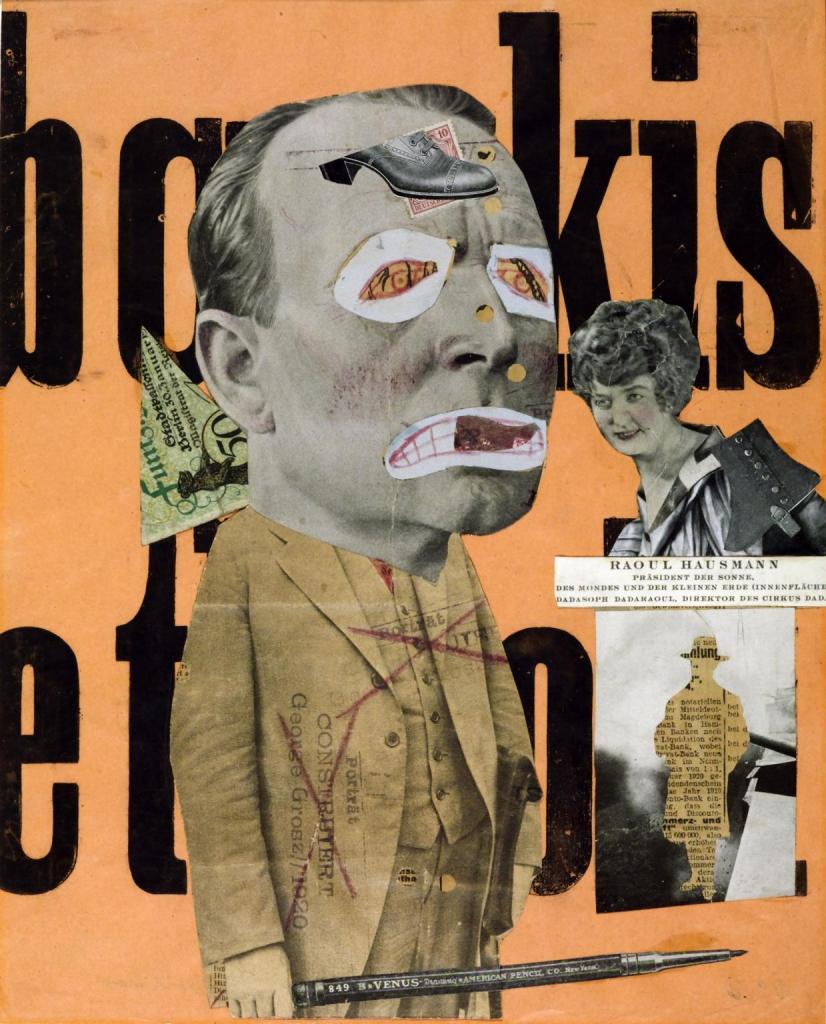
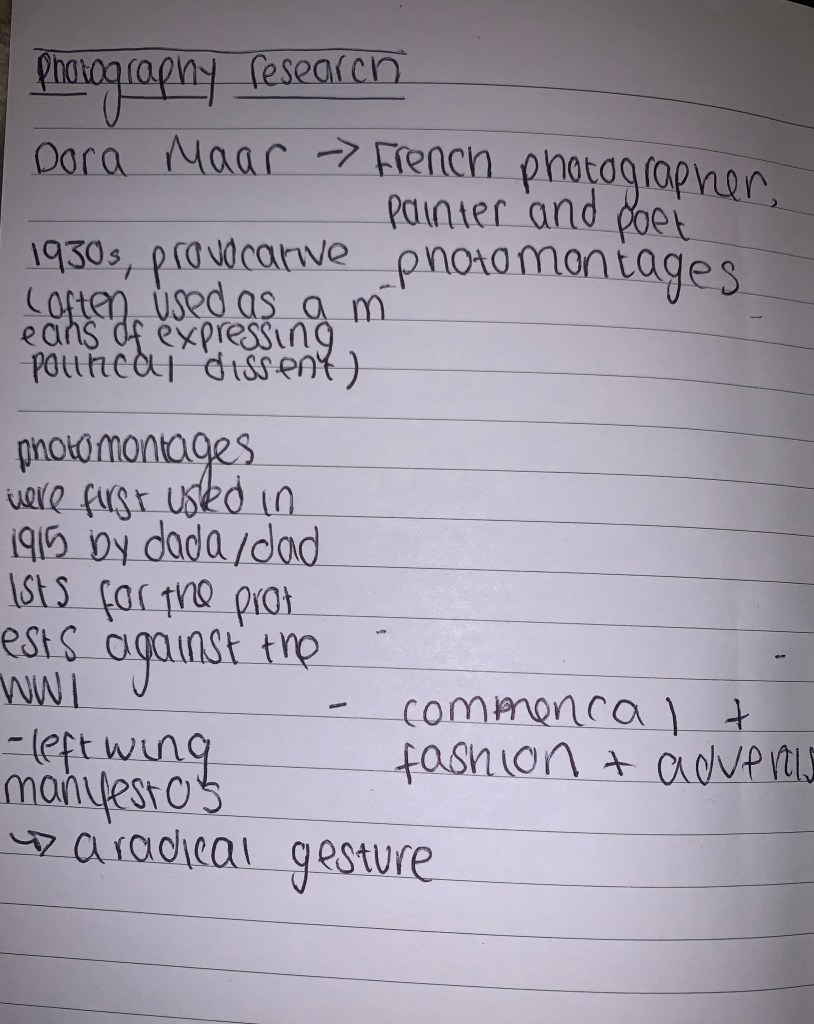
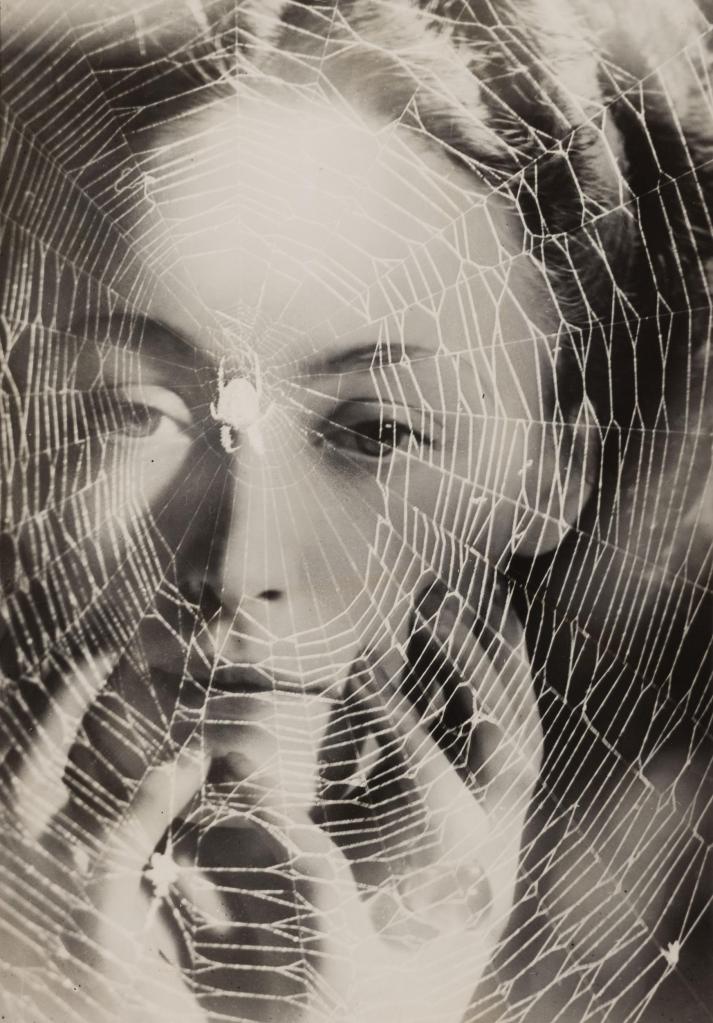
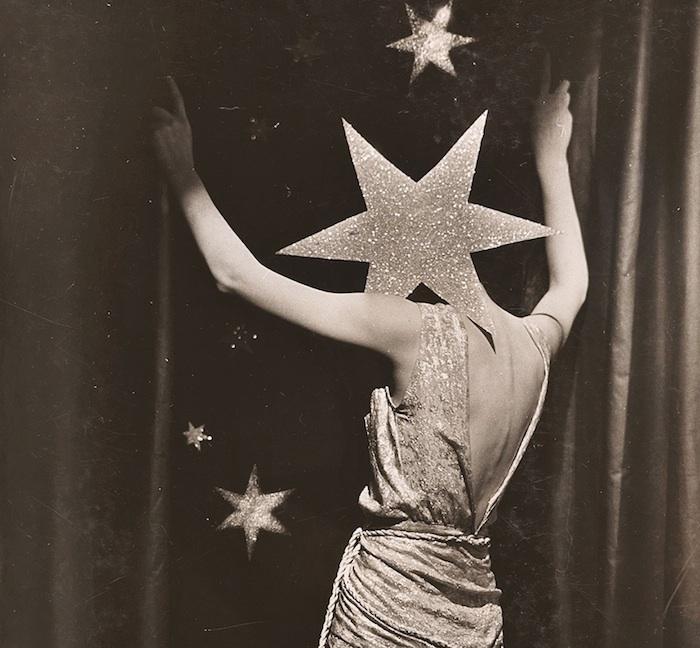
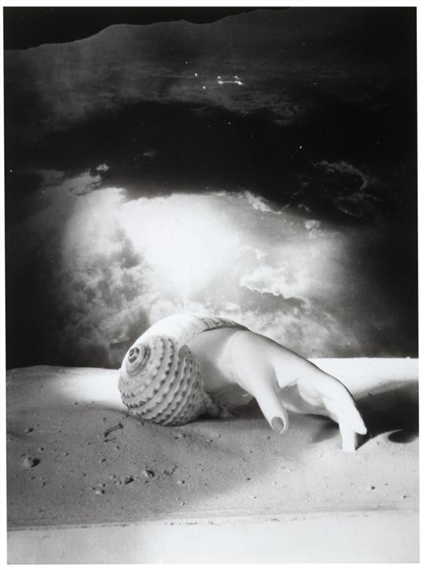
Dora Maar, Exhibition
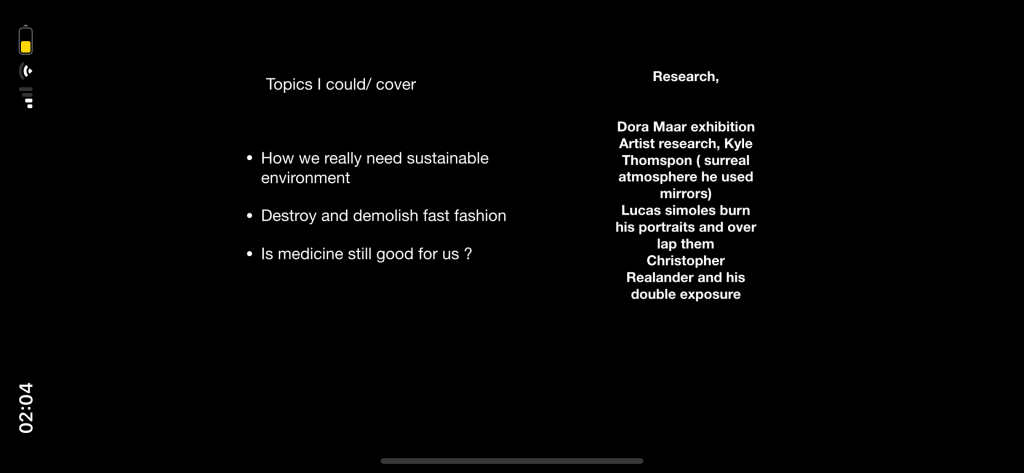
Dora Maar’s work had messages behind them, often political messages were portrayed with these ‘photomontages’. She was heavily influenced by daddists – I would like to use on of my topics for this.
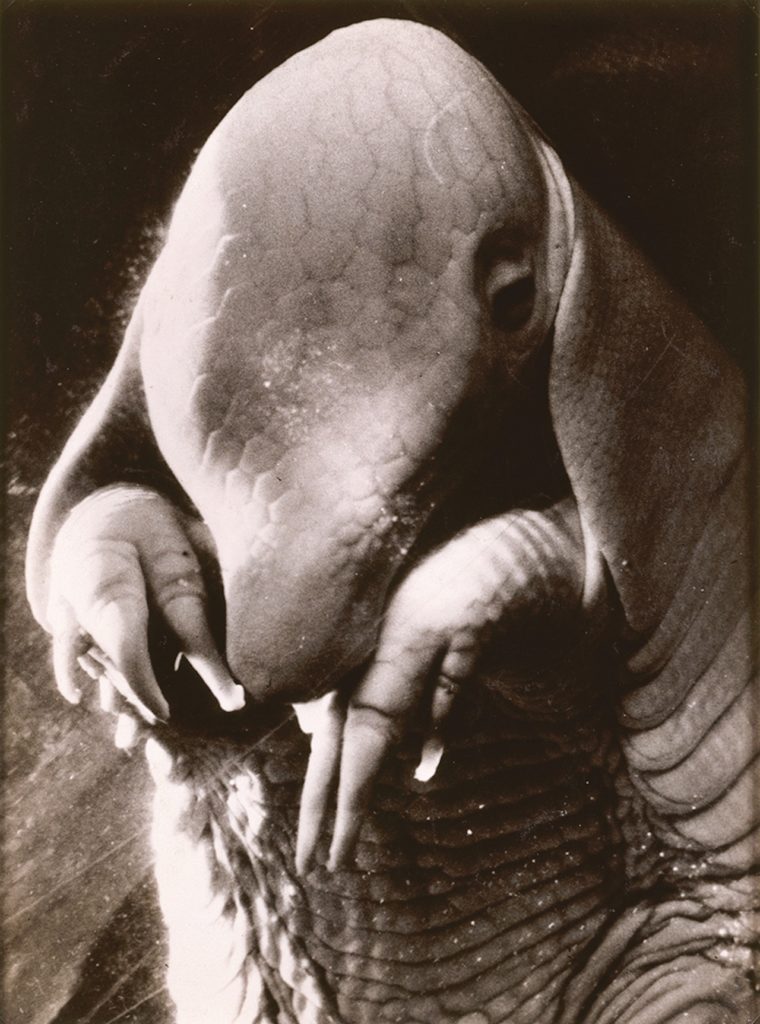
The french photographer and Surrealist artist whose career and accomplishments were overshadowed during her lifetime by the details of her affair with Pablo Picasso. Her work was resurrected and reexamined more thoughtfully after her death.
She photographed many of the Surrealists and exhibited with them. Her work began to take on more of the absurdist and dreamlike qualities characteristic of Surrealism. She made dark photomontages composed of disturbing and ambiguous juxtapositions. Portrait of Ubu (1936; also called Père Ubu), a monstrous close-up image by Maar of what may be an armadillo fetus (she would never confirm), became an icon of the movement.
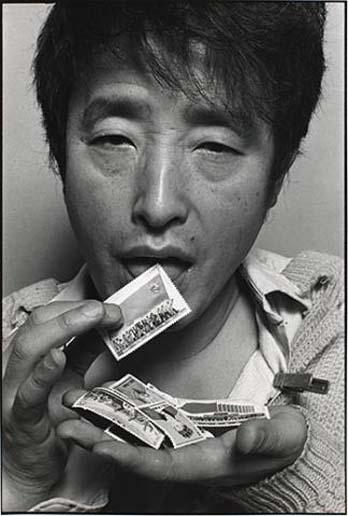
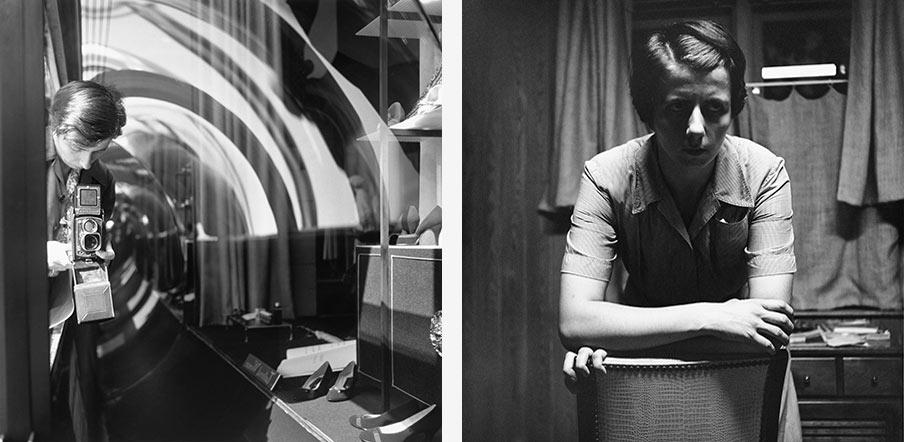
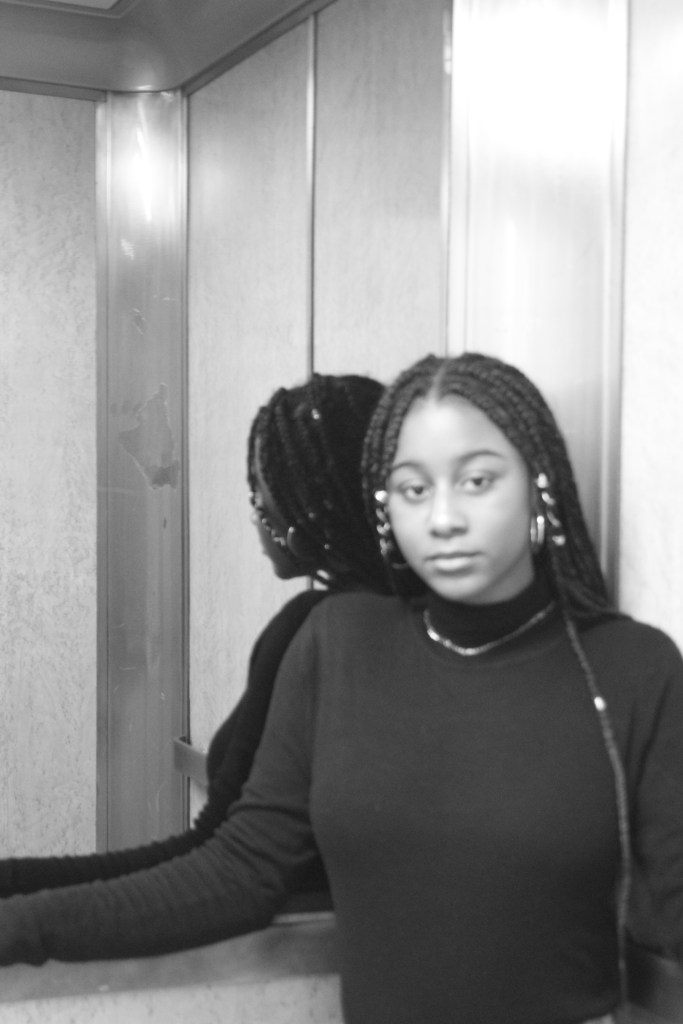
Vivienne Maier –
Vivian Dorothy Maier was an American street photographer whose work was not discovered and recognized until after her death. She worked for about forty years as a nanny, mostly in Chicago’s North Shore, while she pursued her photography. I admired her black and white pictures and it inspired me, that if I was unable to do a photomontage, I would shoot some studio portraits or candids and turn them into thermo images.
Experimenting with Film + DSLR
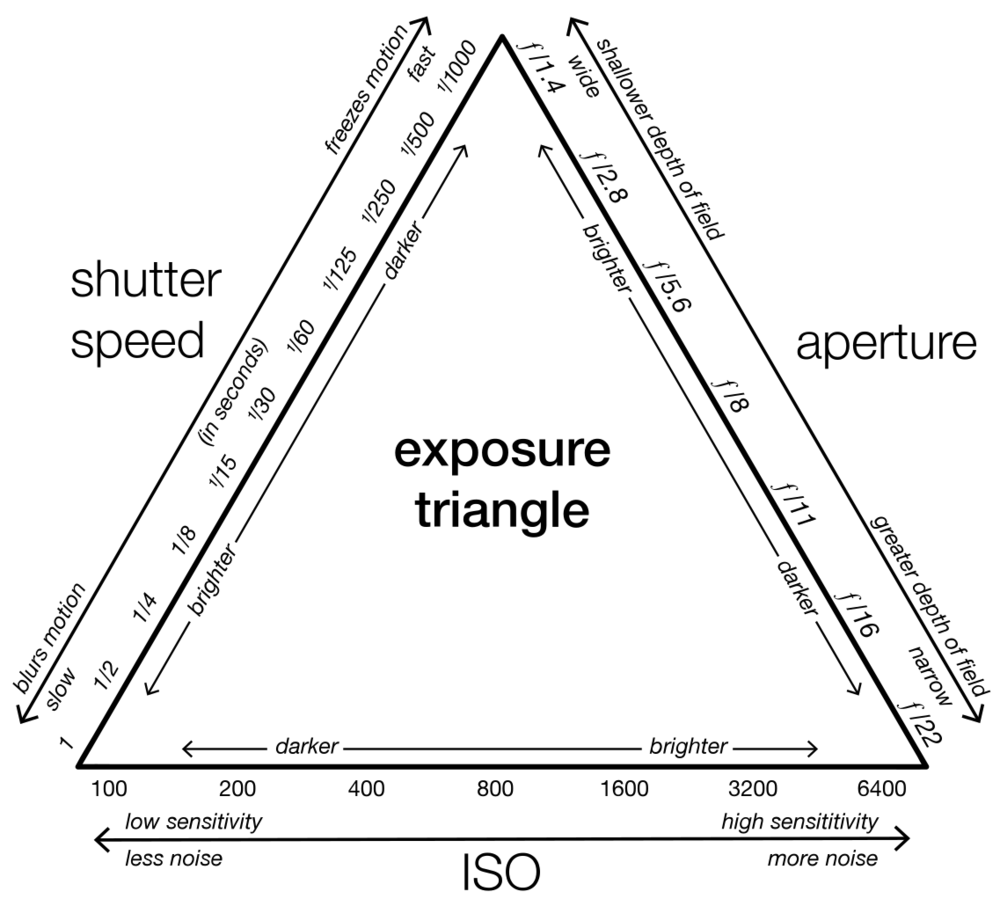
During this period I was given the task of exploring the campus and shooting in a DSLR. It was decided that we all had to shoot in black and white. Beforehand, I was given a refresher in using a DSLR and other significant factors such as considering the apeture, iso and shutter speed. This can also be acknowledged as the exposure triangle, One must balance all three of these to achieve a desired result, an adjustment of one requiring adjustments of at least one of the others.
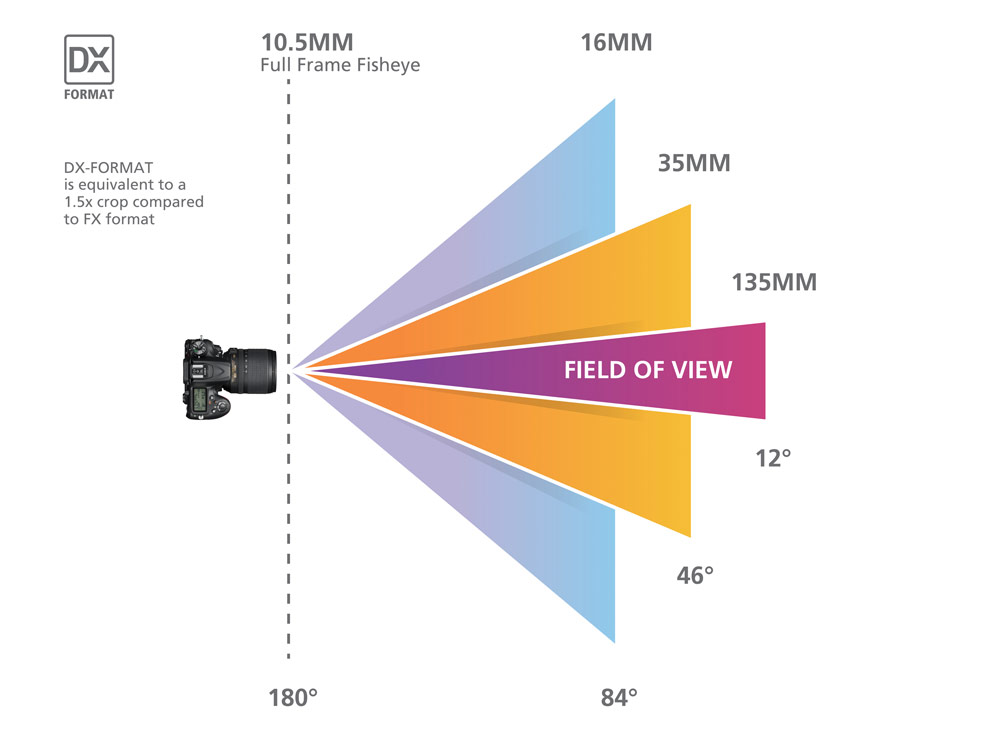
Other elements to consider whilst shooting with a DSLR would be, Focal length – is the distance between the center of a convex lens or a concave mirror and the focal point of the lens or mirror — the point where parallel rays of light meet, or converge.
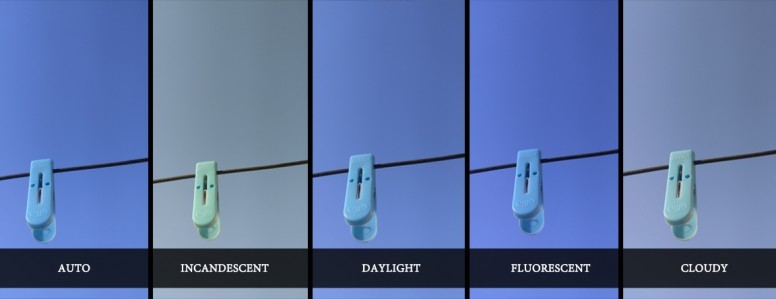
White Balance – White balance (WB) is the process of removing unrealistic color casts, so that objects which appear white in person are rendered white in your photo. Proper camera white balance has to take into account the “color temperature” of a light source, which refers to the relative warmth or coolness of white light.
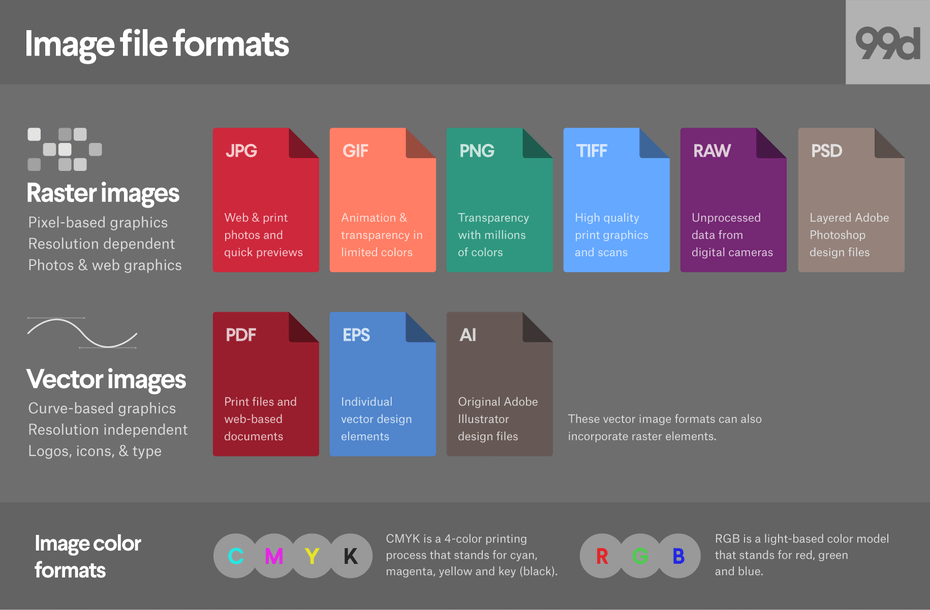
Final File Format – Choosing the right file format is important, and can be critical depending on the level of quality, and also the level of post-processing you intend to do. For example JPEGs positives are that it is a small file size, which means more can be stored on a memory card, quicker file transfer times, due to smaller file size it is a compressed image. Wheras RAW is the best quality image file is captured, extensive options in post-processing and image manipulation. However, time needed to convert and edit photos (you must edit raw files). Bigger file sizes mean more storage needed and longer post-processing times.
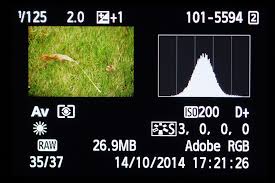
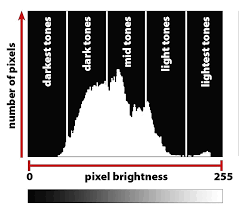
Histogram – A histogram is a graphical representation of the tonal values of your image. In other words, it shows the amount of tones of particular brightness found in your photograph ranging from black (0% brightness) to white (100% brightness). During this shoot I found looking at the histogram and understanding better, it aided me to take a better picture.
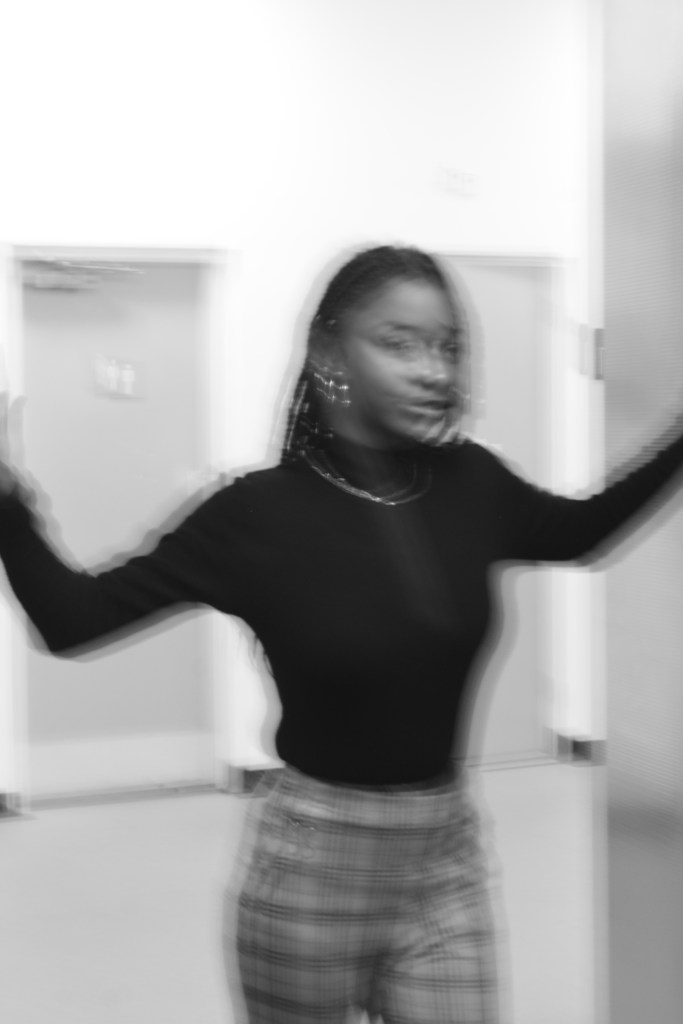
Here are my images from the task of shooting in Black and white with a DSLR Camera below.
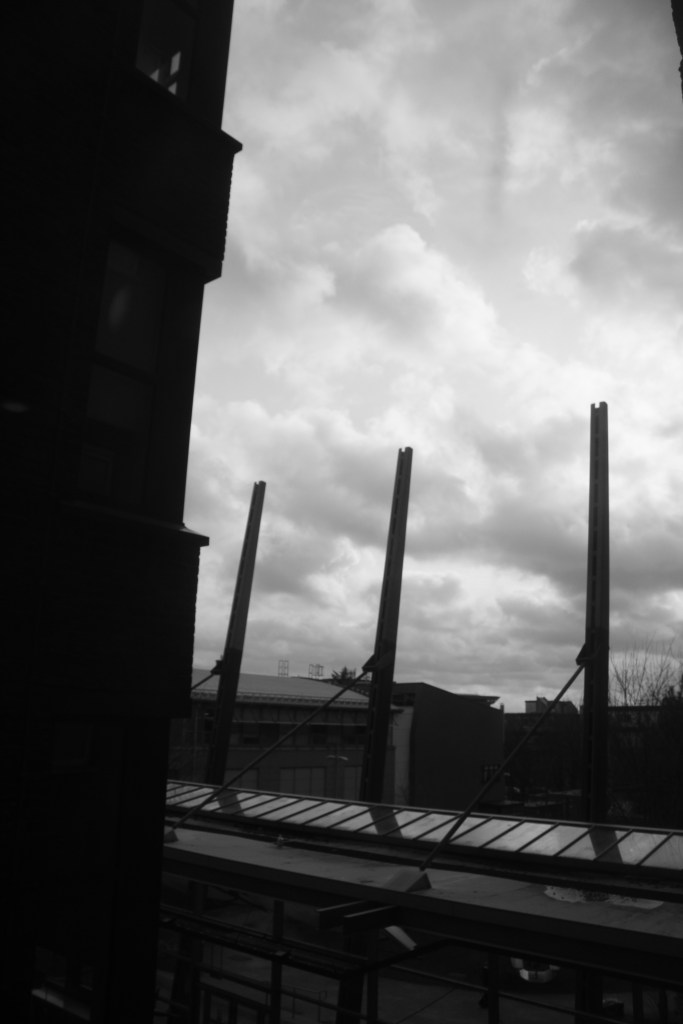
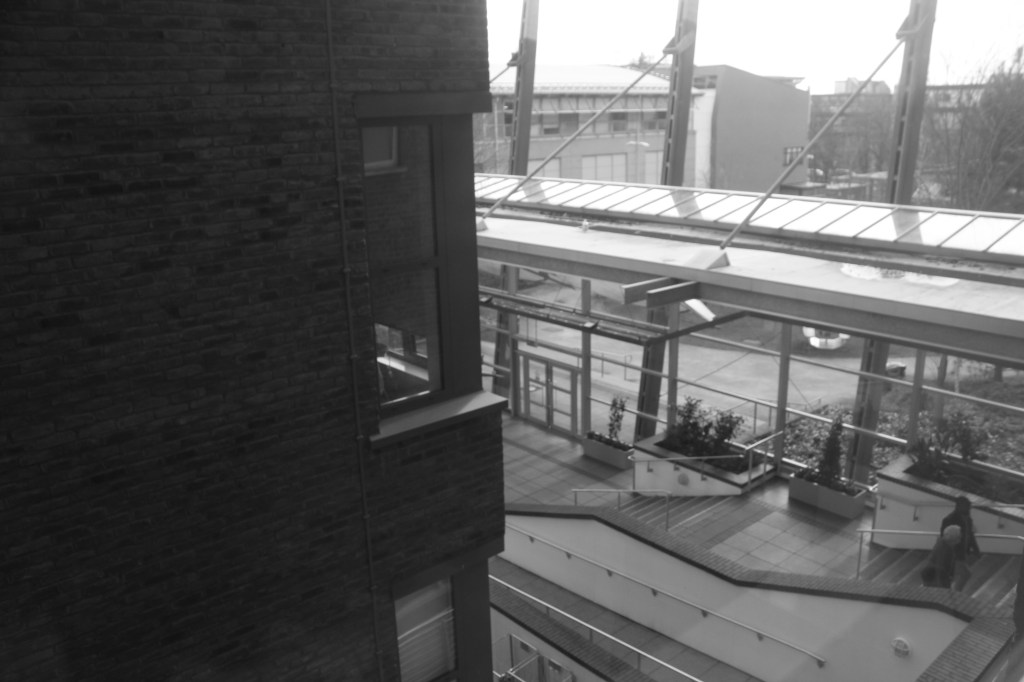
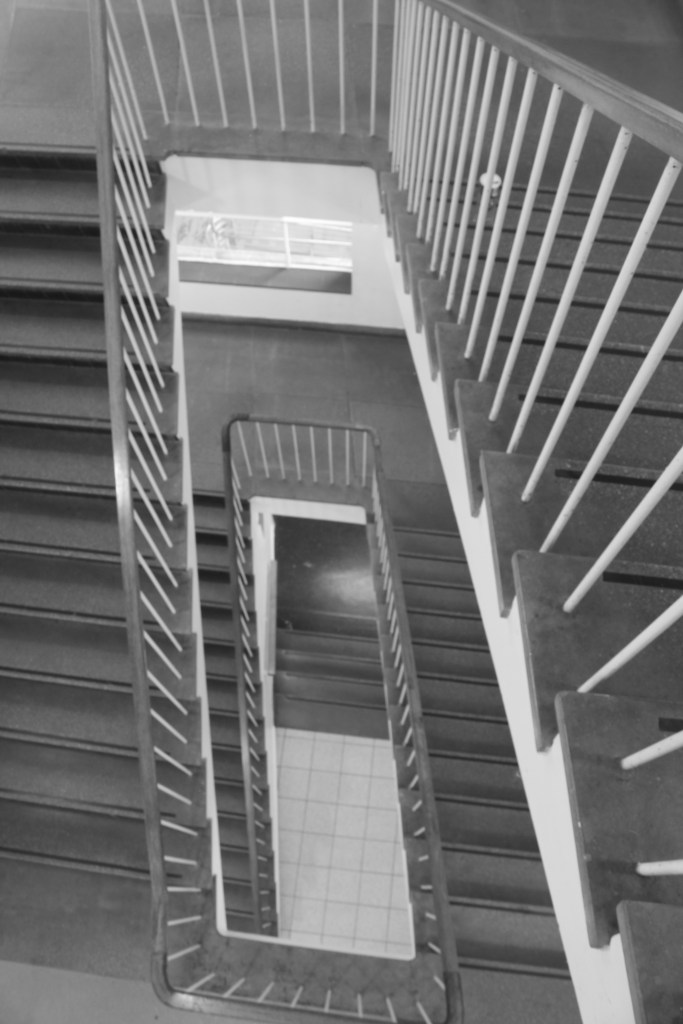
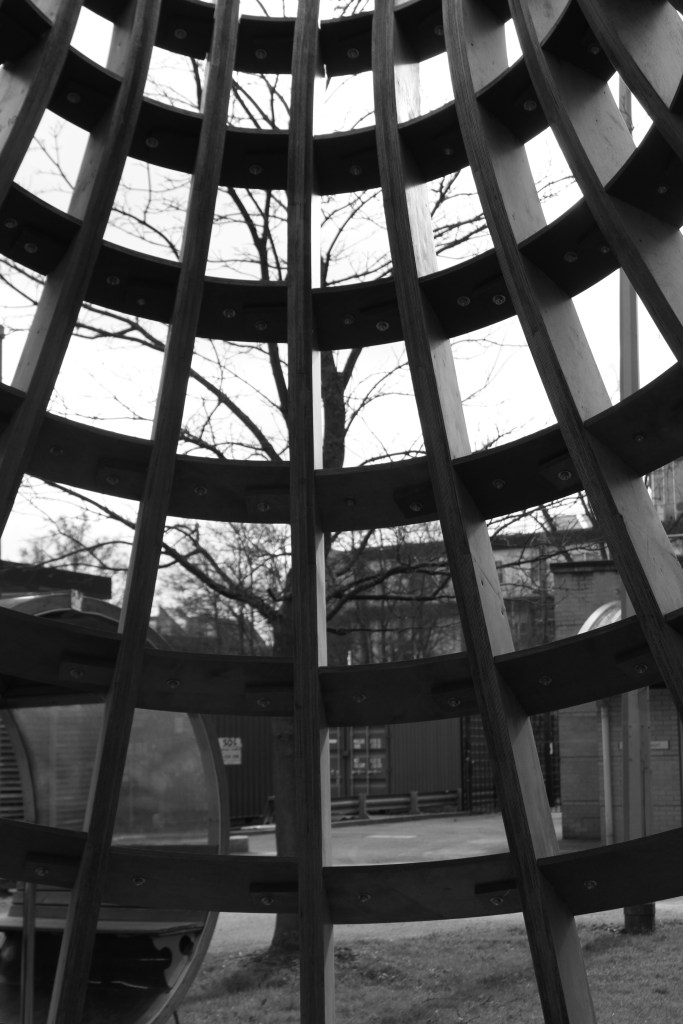
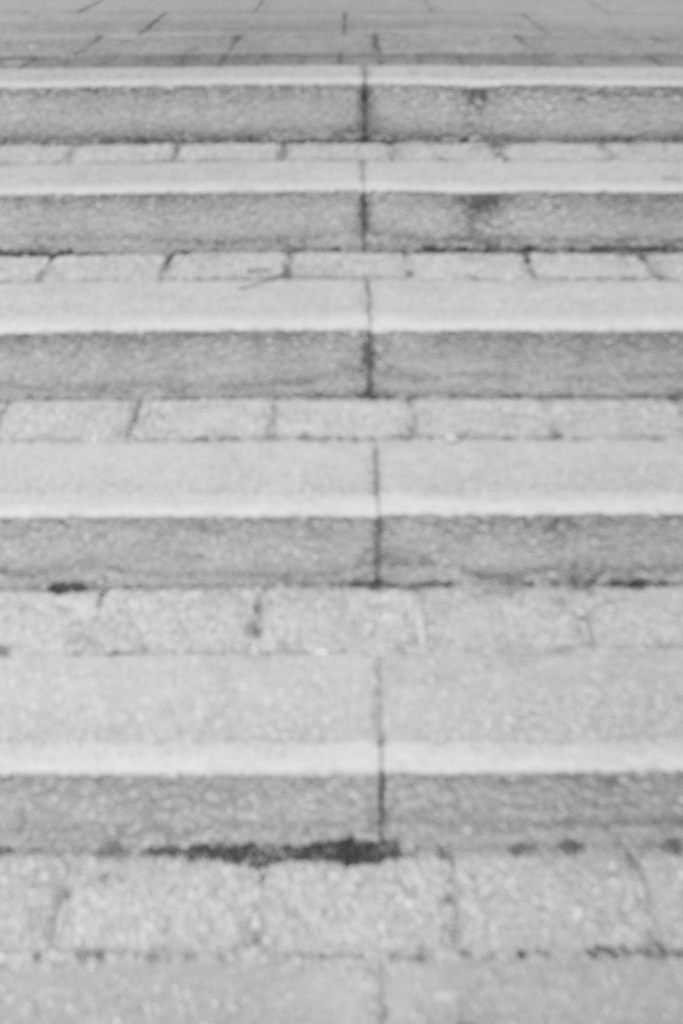
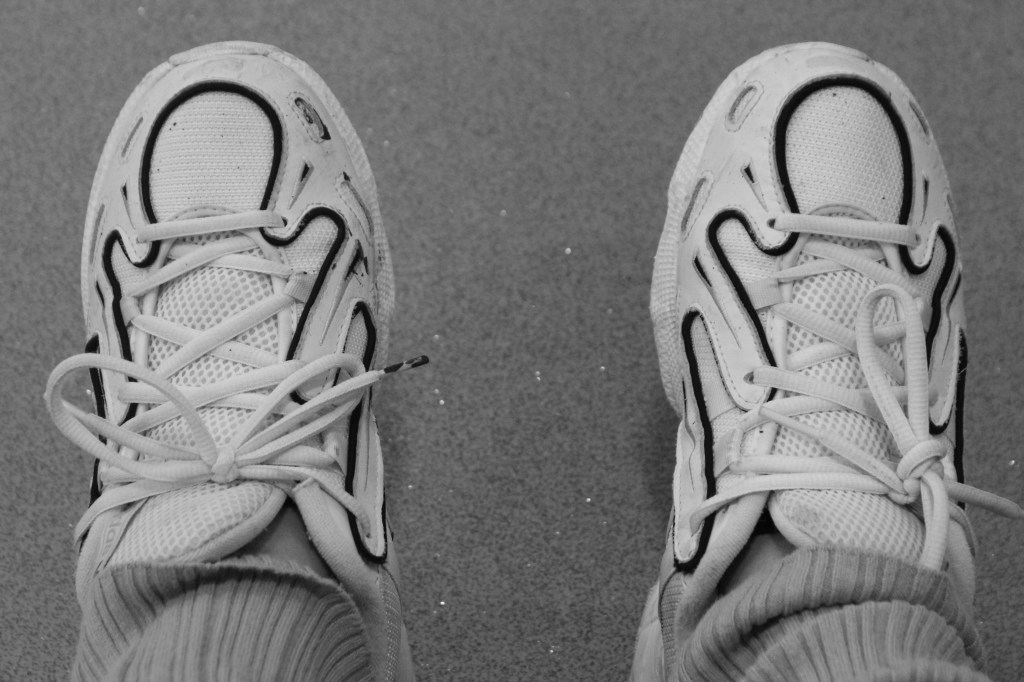
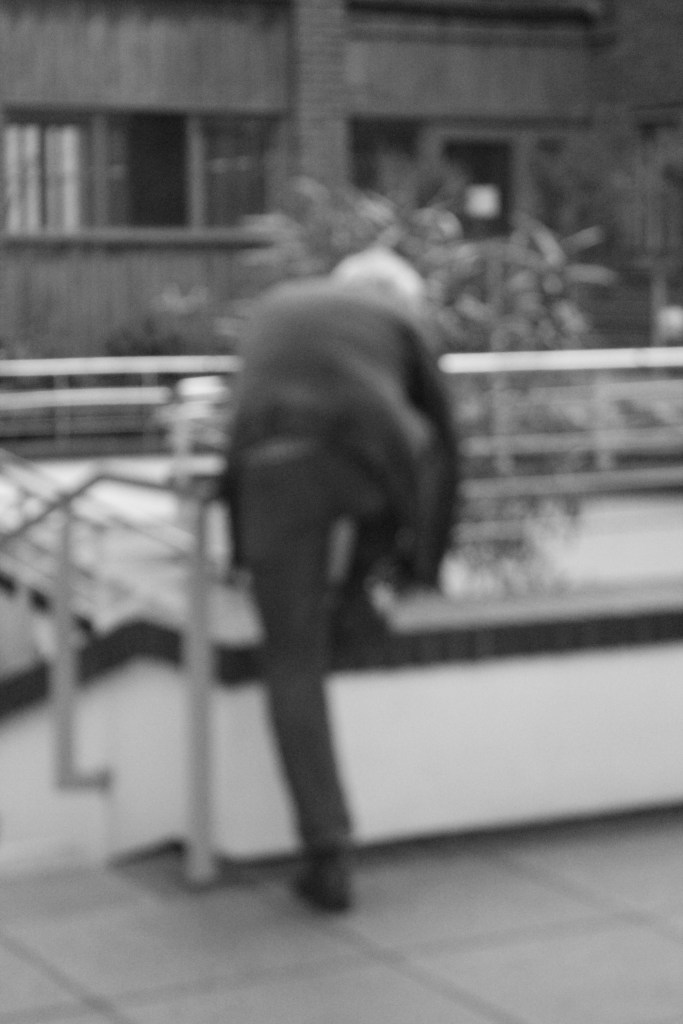
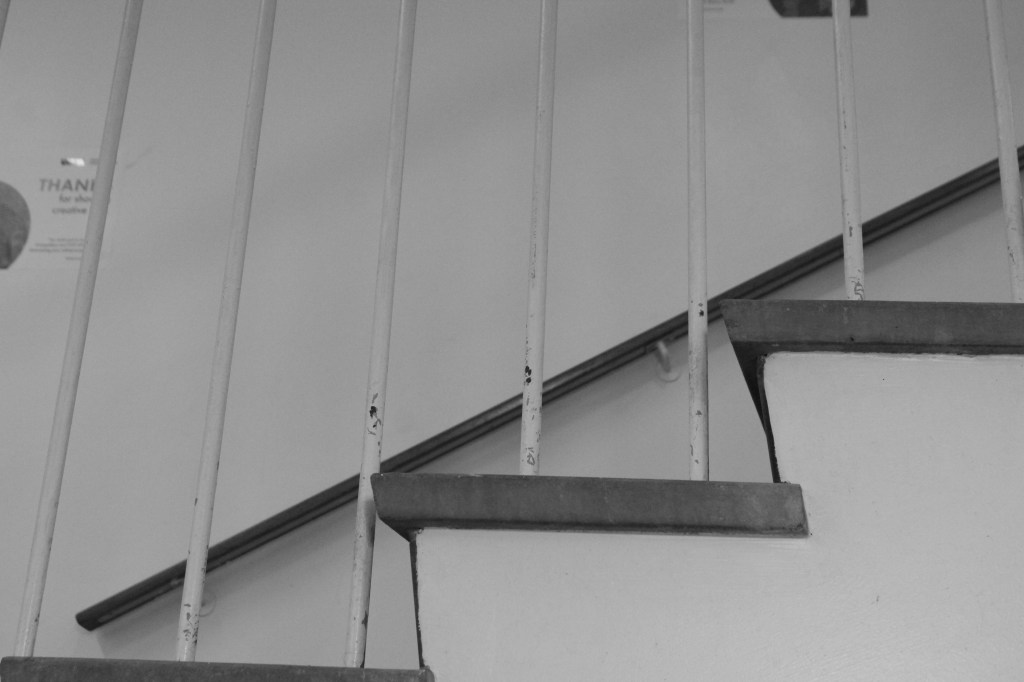


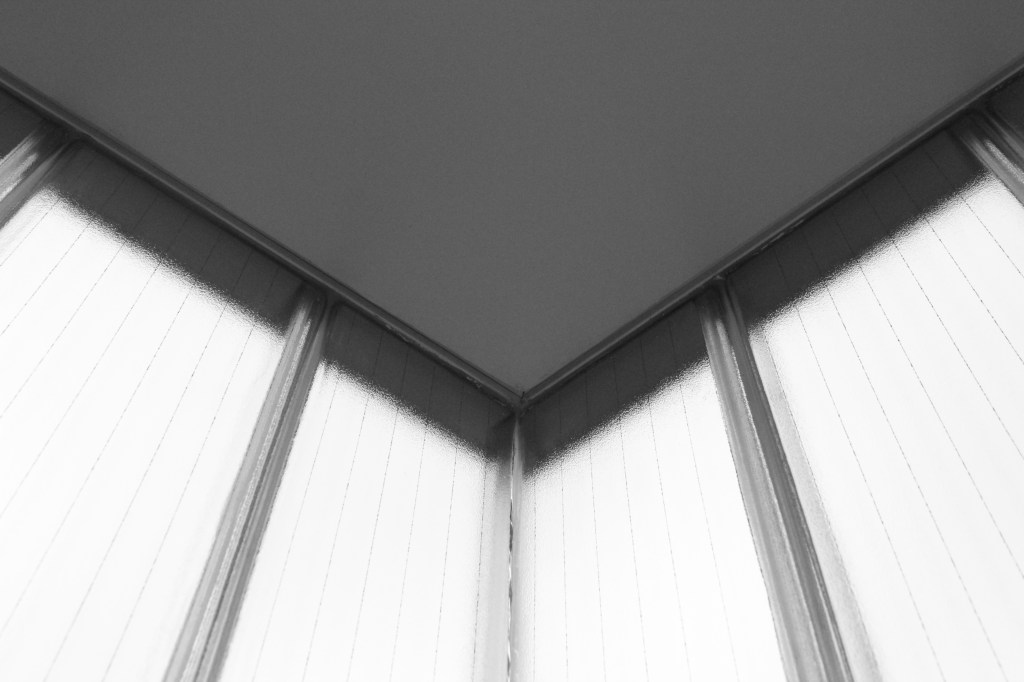
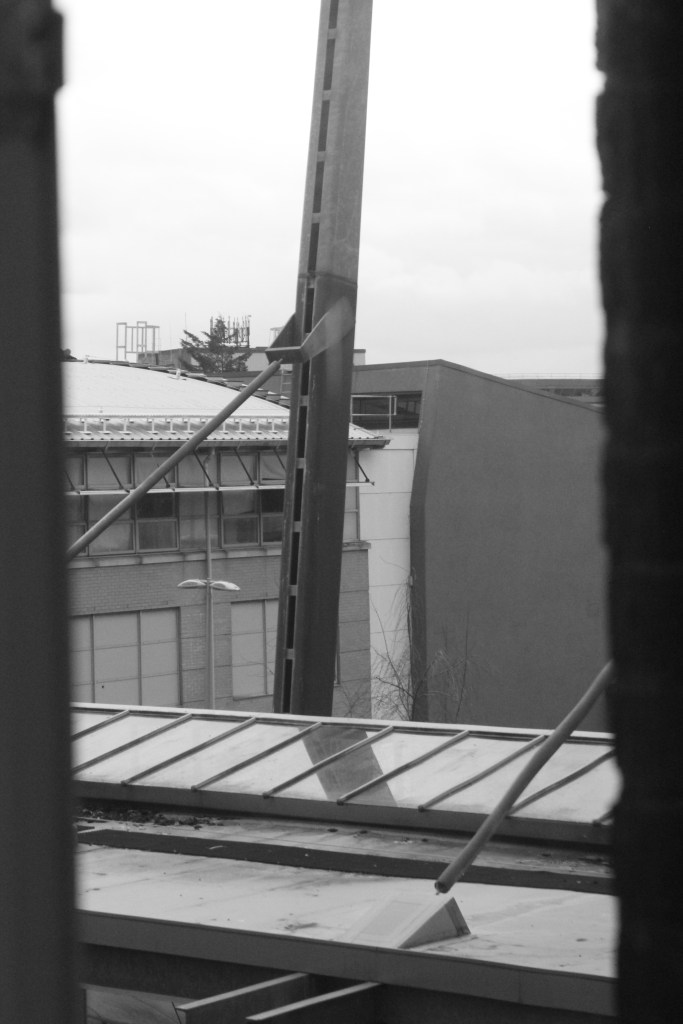
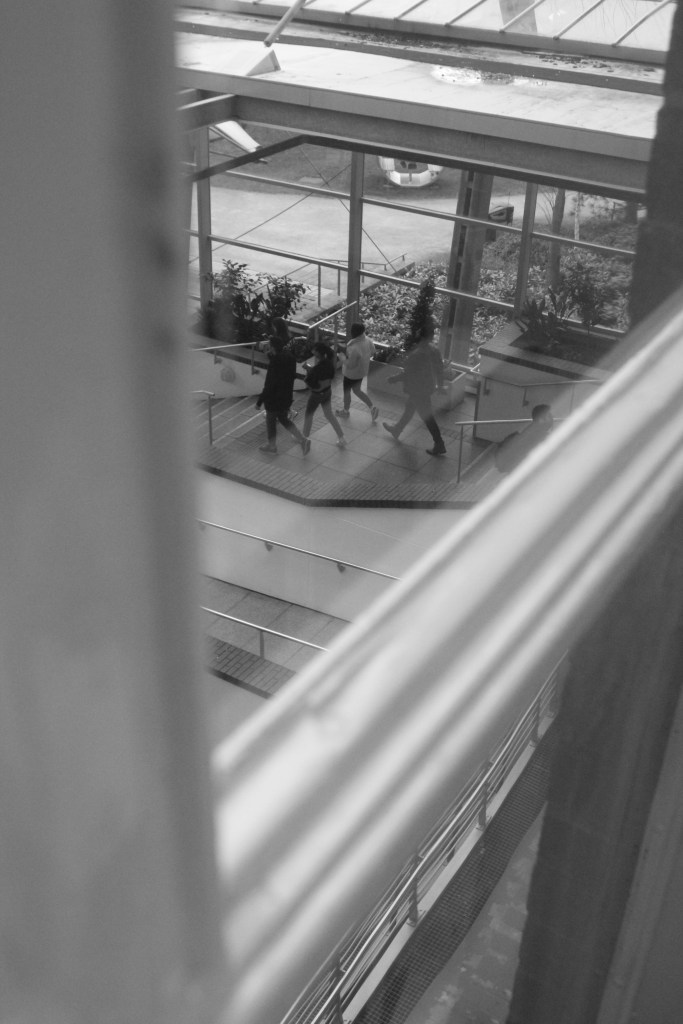
Overall from this session, I liked that instead of me taking portraits of people ( which is the medium I am used to and love) I thought u would try and challenge myself to take more landscape images and focus on the details of them. I liked that because it was shot on black and white you could really focus on the details of the picture. However, at first I did struggle to use the camera and get it to focus, just like the examples below.

The photographers gallery + The national portrait gallery –
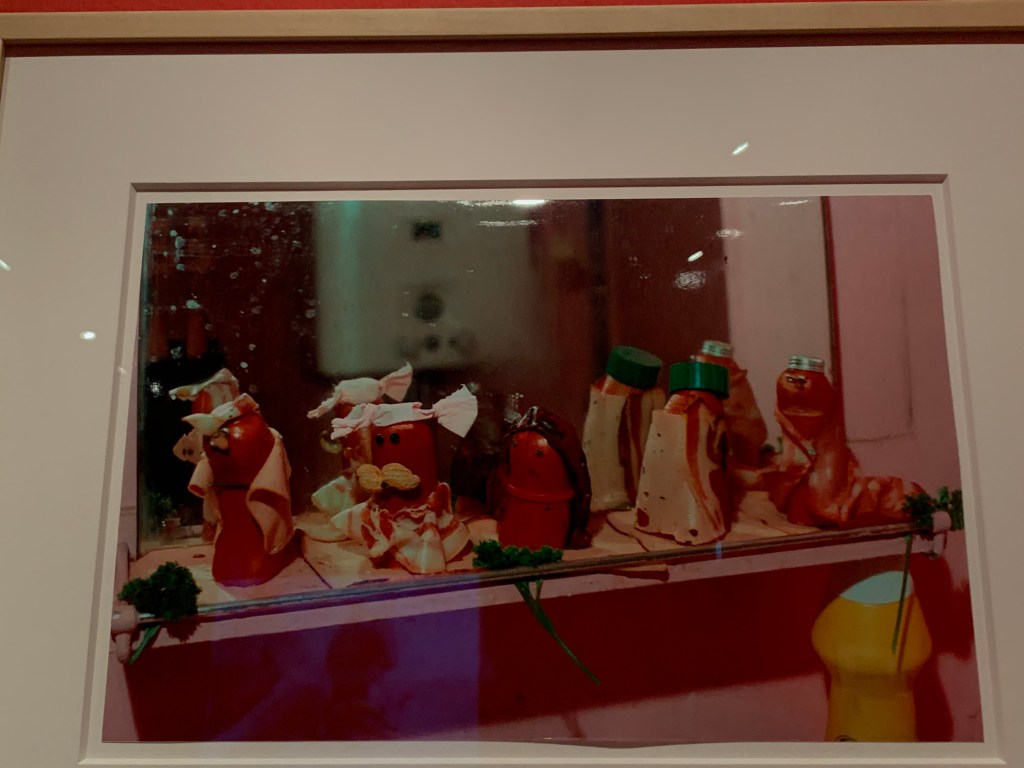
Before this trip I had the thought that I wanted to gain some inspiration, as I was starting to struggle with what I wanted to do. This is because I felt my creativity was limited within a and I wanted to see if I could explore what I had in from of me further. From this trip I managed to gather some inspiration as well as deciding what was for me and what was not. For example, the Photographers gallery held an exhibition which was all to do with food. In my opinion I did not feel inspired or thought it was relevant for this particular model. However, I considered that it might aid me in the future.
These are some pieces I admired, this one I particularly grabbed my attention, as I thought it was a creative and humorous piece.

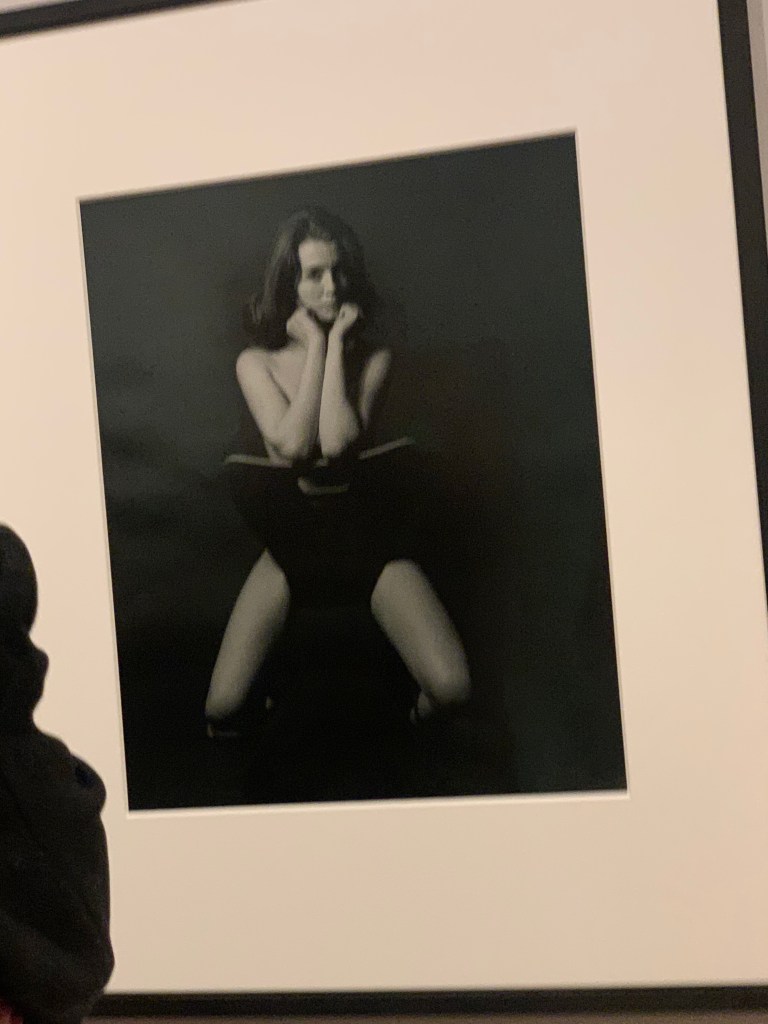
Lewis Morley Research –
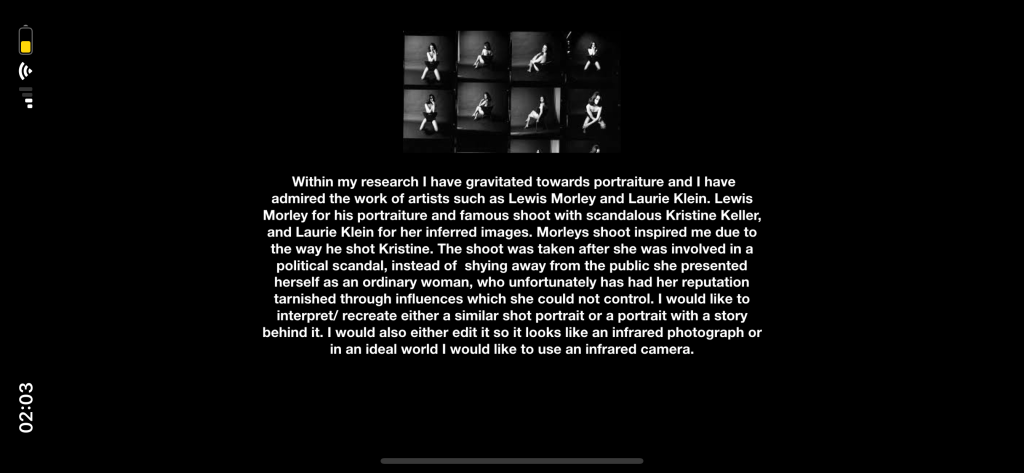
Within my research I have gravitated towards portraiture and I have admired the work of artists such as Lewis Morley and Laurie Klein. Lewis Morley for his portraiture and famous shoot with scandalous Kristine Keller, and Laurie Klein for her inferred images. Morleys shoot inspired me due to the way he shot Kristine. The shoot was taken after she was involved in a political scandal, instead of shying away from the public she presented herself as an ordinary woman, who unfortunately has had her reputation tarnished through influences which she could not control. I would like to interpret/ recreate either a similar shot portrait or a portrait with a story behind it. I would also either edit it so it looks like an infrared photograph or in an ideal world I would like to use an infrared camera.
Shooting with 35 mm film
For this session I was quite excited to shoot in 35 mm film. I have some experience in shooting with film from my a levels. However, it was on of my learning outcomes for this module ( to develop and refresh my skills with shooting on film). Just like the lesson on shooting with a DSLR, we were given film cameras each with black and white film and instructed to take some images around the campus. We were given instructions on how to put the film roll in and out as a few people struggled. The camera I had used was a Ricoh KR – 10 (35mm).
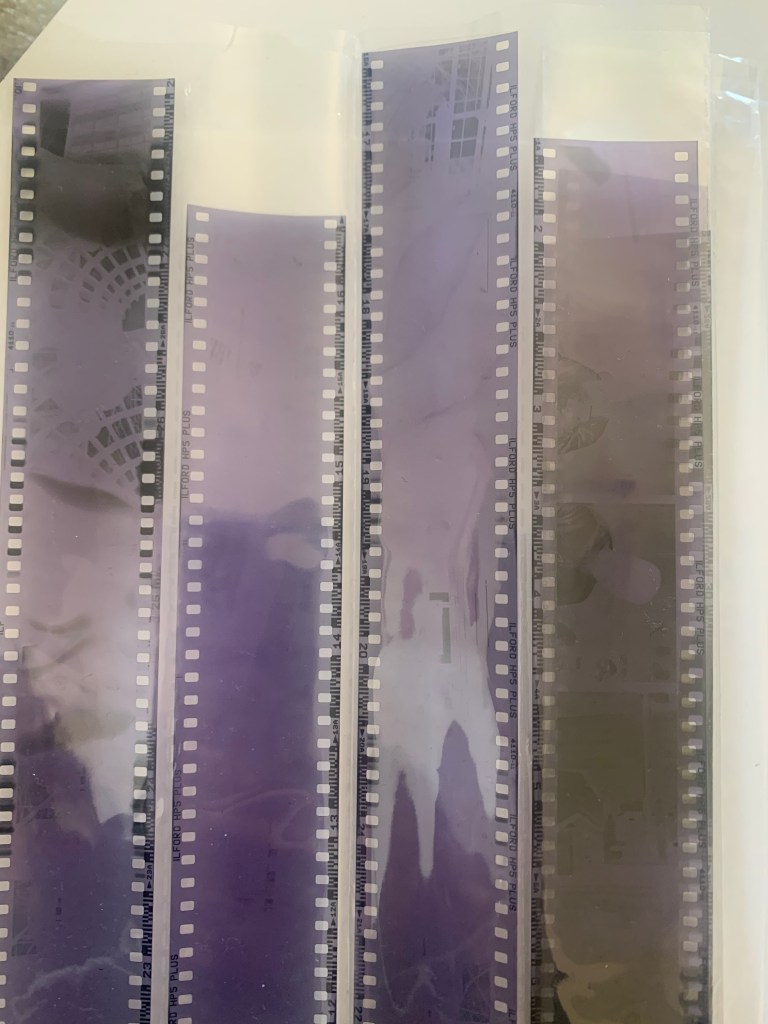
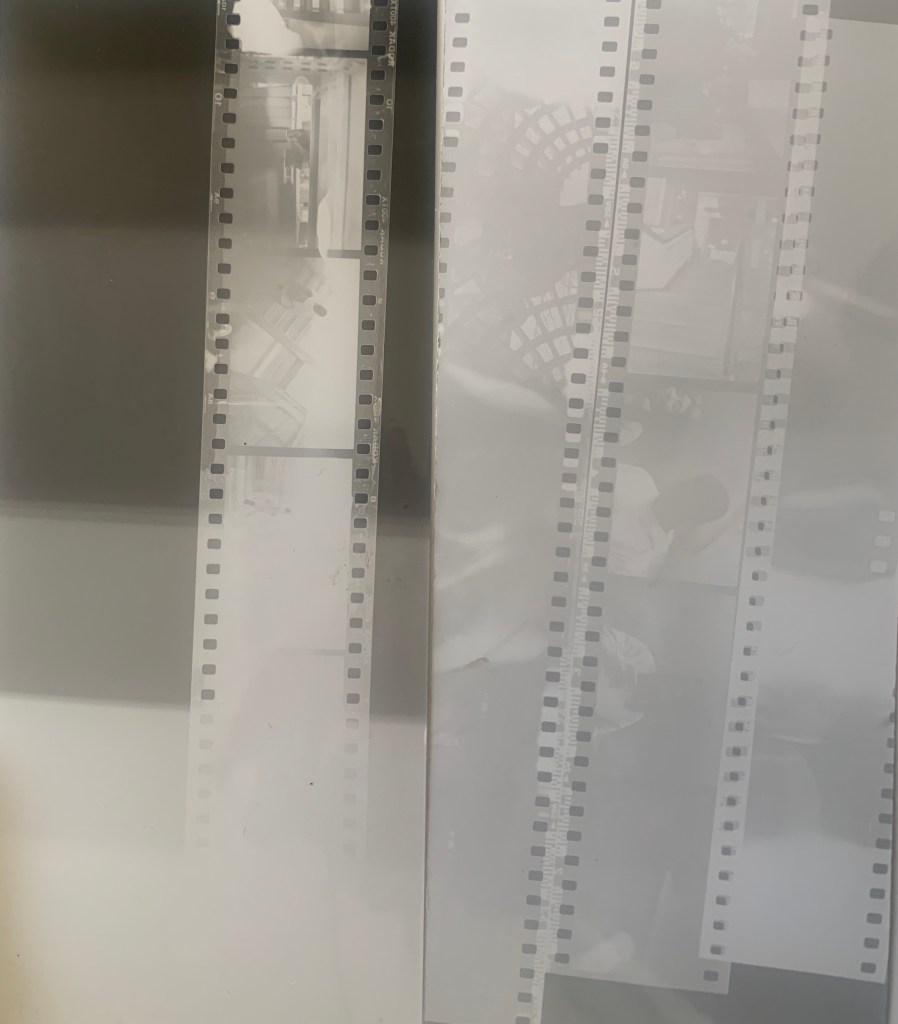
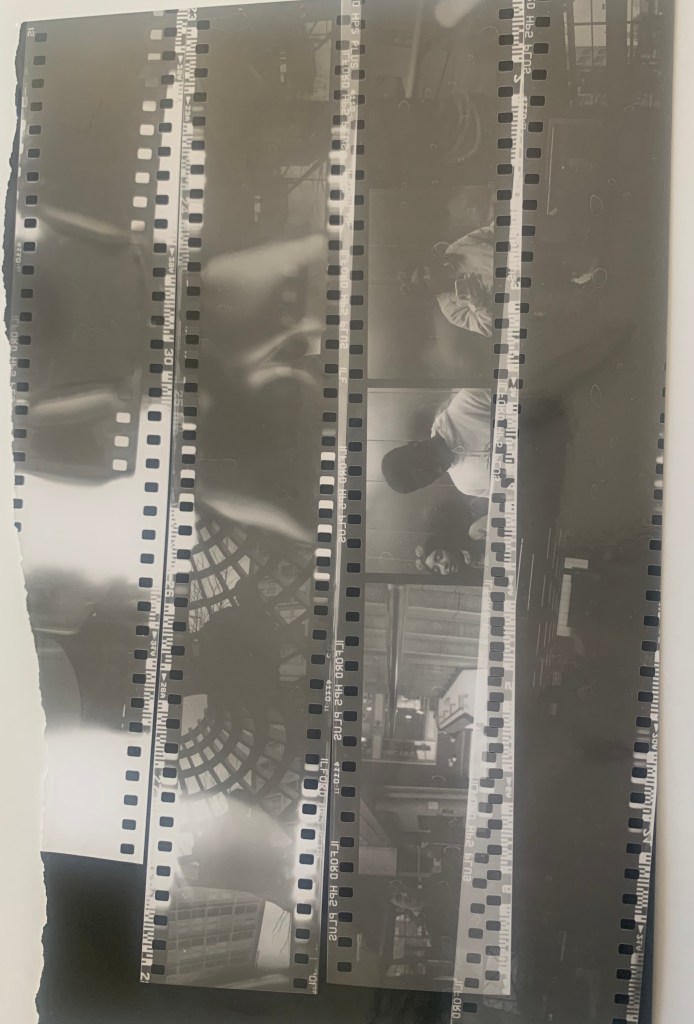
Processing the film, this task I found a bit challenging as I accidentally ended up exposing the film roll and the film ended up not fully show the image. However, it was a learning curve but also made me establish that even though there can be problems with film it could actually have a interesting and cool effect.
Scanning the Film, I was unable to attend this session as I was unwell however, I was given the Ilford Booklet which guided me if I had to do it again. As I could not attend I thought how else could I achieve this and researched that there are apps that can scan the film strips and do the same job as an ordinary scanner. The app I found was called filmBox.
Overall Results, were that I was happy with my results, however if I had the chance to do this again I would e careful with unwinding the film out and maybe leaving the film in the developer a bit longer to get the best result. I would like to explore shooting in film more as I really enjoyed the practical side of it. However, for my final project proposal because it fits with the theme, I think I would use a digital medium as I feel more stronger with that format. However, the post production is something I would like to challenge myself with. Below I have inserted my results, as you can see, there are some that did not turn out well. However, it still has an interesting affect.


Making a presentation – what we had to do
MID POINT. for our presentation we had to display a version of our proposal as if it was the actual one, just so the tutor could see what our ideas were and where we were at within this module. I felt that I prepared mine quite well and that I answered all the questions we had to do. However, I had two ideas and needed to narrow it down to one. I struggled uploading my powerpoint due to WordPress mentioning that uploading videos was a premium aspect. Therefore, I uploaded screen shots of my powerpoint below.
Feedback – From my presentation
Overall I answered and explained everything we were told to do, below I have inserted the feedback I have received.
The thermal images idea was a stronger idea in comparison to the photomontage idea, as well as being different to others in the group.
Maybe considering different ways of achieving my thermal images/ portraits. I could use photoshop and explore colour grading, focus more on the use of a thermal images. On the other hand I could pick a thermo camera, or a low resolution camera. I should search places that have them as they can be hard to get and expensive if I wanted to go for a thermo camera. To consider the choice of temperature, what interested me in it, and look at rainbow gradient.
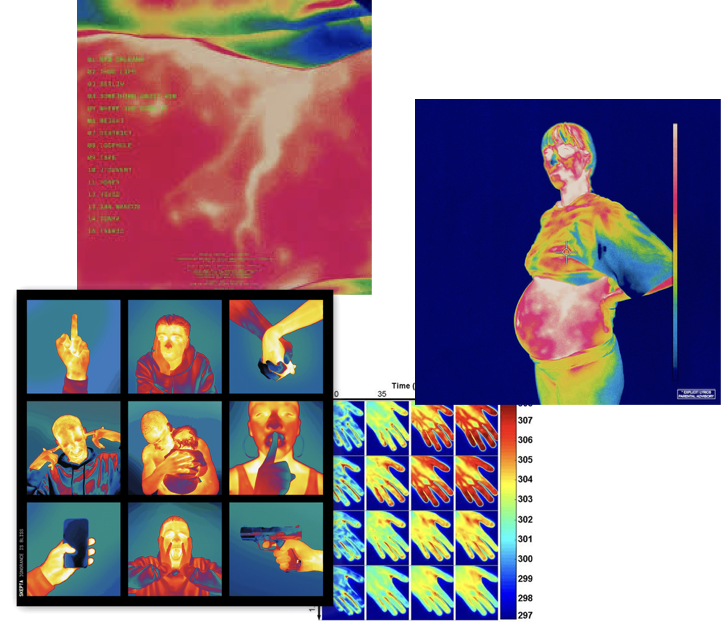
Thermal imaging, research
APPS- I thought I could use to achieve the look as an infrared image was, the app was called HYPERSPECTIV. Some examples of my experimental work from this app were I had the option to turn down the exposure which meant the effect was darker and you could see. the different colours more. Just like an actual image taken by a thermo camera.
Thermal Camera Uses in Safety & Law Enforcement
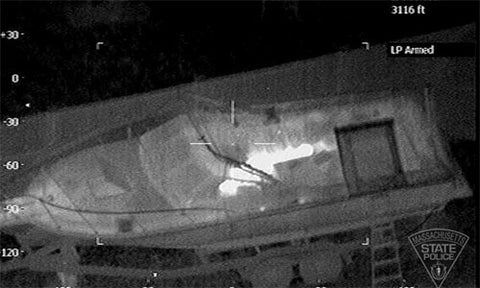
1. Surveillance. Thermal scanners are often used by police helicopters to see hiding burglars or track someone fleeing a crime scene.
2. Firefighting. Thermal cameras allow you to quickly identify if a spot fire or stump is actually out, or just about to reignite.
3. Search & Rescue. Thermal imagers have the benefit of being able to see through smoke. As such, they are often used to find out where people are in darkened or smoke-filled rooms.
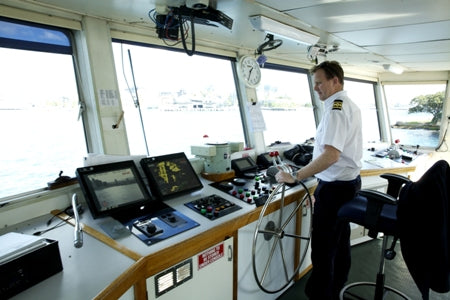
4. Maritime Navigation. Infrared cameras can clearly see other vessels or people in the water at night-time. This is because, in contrast to the water, boat engines or a body will give off a lot of heat.
5. Road Safety. Infrared cameras can see people or animals beyond the reach of vehicle headlights or streetlights. What makes them so handy is that thermal cameras do not require any visible light to operate. This is an important distinction between thermal imaging and night vision (which is not the same thing).

6. Drug Busts. Thermal scanners can easily spot households or buildings with a suspiciously high temperature. A house with an unusual heat signature may indicate the presence of grow-lights being used for illegal purposes.
7. Air Quality. Thermal cameras can detect which household chimneys are in operation (and therefore using wood for heating). The same principle can be applied to industrial smoke-stacks.
8. Gas Leak Detection. Specially calibrated thermal cameras can be used to detect the presence of certain gases at industrial sites or around pipelines.
9. Preventative Maintenance. Thermal imagers are used for all kinds of safety checks to reduce the risk of fire or premature product failure.
10. Disease Control. Thermal scanners can quickly check all incoming passengers at airports and other locations for elevated temperature. Thermal cameras can be used to detect fevers during global outbreaks such as SARS, Bird Flu and coronavirus(COVID-19).

11. Military & Defense Applications. Thermal imaging is of course also used in a wide range of military hardware, including aerial drones. Although now just one use of thermal imaging, military applications are what originally drove much of the initial research and development into this technology.
12. Counter-Surveillance. Covert surveillance equipment such as listening devices or hidden cameras all consume some energy. These devices give off a tiny amount of waste heat that is clearly visible on a thermal camera (even if hidden inside or behind an object).

Thermal image of a listening device
Thermal Scanners to Find Wildlife & Pests
13. Unwanted Pests. Thermal imaging cameras can find out exactly where possums, rats or other animals are camping out in a roof space.
14. Animal Rescue. Thermal cameras can also find stranded wildlife (such as birds or pets) in hard-to-access areas.
15. Termite Detection. Infrared cameras can detect areas of potential termite activity in buildings. As such, they are often used as a detection tool by termite and building inspectors.

16. Wildlife Surveys. Thermal cameras are used by ecologists to conduct wildlife surveys and other animal research. It’s often easier, quicker, and kinder than other methods such as trapping.
17. Hunting. Similar to military applications, thermal imaging can also be used for hunting (infrared camera rifle scopes, monoculars, etc).
Infrared Cameras in Healthcare & Veterinary Applications
18. Skin Temperature. IR cameras are a non-invasive tool to detect variations in skin temperature. Skin temperature variation can, in turn, be symptomatic of other underlying medical issues.
19. Musculoskeletal Problems. Thermal imaging cameras can be used to diagnose a variety of disorders associated with the neck, back and limbs.
20. Circulation Problems. Thermal scanners can help detect the presence of deep vein thromboses and other circulatory disorders.

Image showing leg blood flow circulation issues.
21. Cancer Detection. Infrared cameras have been shown to clearly indicate the presence of breast and other cancers.
22. Infection. Thermal imagers can quickly locate potential areas of infection (indicated by an abnormal temperature profile).
23. Horse Treatment. Thermal cameras can be used for diagnosis of tendon, hoof and saddle problems.

Thermal Imaging for Electricians & Technicians
24. PCB Defects. Technicians and engineers can check for electrical defects on printed circuit boards (PCB’s).
25. Power Usage. Thermal scanners clearly show which circuits on a switchboard are consuming the most power.

26. Hot or Loose Electrical Connectors. Thermal cameras can help find defective connections or ‘hot joints’ before they cause irreversible damage to equipment or stock.
27. Phase Supply. Thermal imaging cameras can be used to check for unbalanced phase supply (electrical load).
28. Underfloor Heating. Thermal scanners can show if electric underfloor heating is working properly and/or where a defect has occurred.
29. Overheated Components. Overheated substations, transformers and other electrical components all show up very obviously in the infrared spectrum. Higher-end thermal cameras with adjustable lenses are used by electricity utilities and others to quickly check overhead power lines and transformers for issues.
30. Solar Panels. Infrared cameras are used to check for electrical defects, micro-fractures or ‘hot spots’ in solar PV panels.
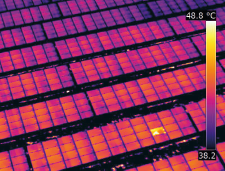

Aerial drone thermal image of a solar farm showing a defective panel (left) and a similar test done close-up on an individual solar module showing a problematic solar cell (right).
Thermal Cameras for Mechanical Inspection & Preventative Maintenance
31. HVAC Maintenance. Thermal imaging is used to check issues with heating, ventilation and air conditioning (HVAC) equipment. This includes the coils and compressors on refrigeration and air conditioning systems.
32. HVAC Performance. Thermal scanners show how much heat is being generated by equipment inside a building. They can also show how the air conditioning ducting could be improved to deal with this, for example, in server rooms and around comms racks.
33. Pumps & Motors. Thermal cameras can detect an overheated motor before they burn-out.

34. Bearings. Bearings and conveyor belts in factories can be monitored with a thermal camera to identify potential issues.
35. Welding. Welding requires the metal to be heated uniformly to melting temperature. By looking at the thermal image of a weld, it is possible to see how the temperature varies across and along the weld.
36. Motor Vehicles. Infrared cameras can demonstrate specific vehicle mechanical issues such as overheated bearings, engine parts with uneven temperatures, and exhaust leaks.
37. Hydraulic Systems. Thermal imagers can identify potential failure points within hydraulic systems.

Thermal inspection of hydraulics on mining equipment.
38. Aircraft Maintenance. Thermal imaging is used to conduct fuselage inspection for de-bonding, cracks, or loose components.
39. Pipes & Ducts. Thermal scanners can identify blockages in ventilation systems and pipework.
40. Non-Destructive Testing. Infrared non-destructive testing (IR NDT) is a valuable process for detecting voids, delaminations, and water inclusion in composite materials.
41. Hydronic Heating. Thermal imagers can check the performance of in-slab or wall-panel hydronic heating systems.
42. Greenhouses. Infrared vision can be used to review issues in commercial greenhouses (eg. plant and flower nurseries).
43. Leak Detection. The source of a water leak is not always obvious, and it can be expensive and/or destructive to find out. For this reason, many plumbers have purchased our FLIR thermal cameras to make their job a whole lot easier.

Thermal image showing a water leak (likely from neighbour above) in an apartment kitchen.
44. Moisture, Mold & Rising Damp. Infrared cameras can be used to find the extent and source of damage caused to a property by moisture-related issues (including rising and lateral damp, and mould).
45. Restoration & Rectification. IR cameras can also determine if restoration works have effectively solved the initial moisture problem.
46. Insurance Claims. Thermal camera inspections are often used as an evidence base for insurance claims. This includes the various mechanical, electrical and safety issues outlined above.
47. Tank Levels. Thermal imaging is used by petrochemical companies and others to determine the level of liquid in large storage tanks.
Infrared Images to Detect Energy, Leakage & Insulation Issues
48. Insulation Defects. Thermal scanners can review the effectiveness of, and find gaps in, ceiling and wall insulation.

49. Air Leakage. Thermal imaging is used to check for air leaks. This can be in air conditioning or heater ducting as well as around window and door frames and other building elements.
50. Hot Water. Infrared images show how much energy hot water pipes and tanks are losing to their surroundings.
51. Refrigeration. An infrared camera can find defects in refrigeration and cool room insulation.

An image taken during an energy audit with a FLIR E5 showing defective insulation in a freezer room.
52. Heater Performance. Analyse the performance of heating systems including boilers, wood fires, and electric heaters.
53. Glazing. Evaluate the relative performance of window films, double glazing, and other window coverings.
54. Heat Loss. Thermal imaging cameras allow you to see which areas of a particular room or building are losing the most heat.
55. Heat Transfer. Review the effectiveness of heat transfer, such as in solar hot water systems.
56. Waste Heat. Waste heat equals wasted energy. Thermal cameras can help find out which appliances are generating the most heat and therefore wasting the most energy.
EXPERIMENTAL WORK
Here are some examples of my experimental work below.
Experimental work 2.0
I created this infrared effect inside the video game GTA 5 on my computer. This game was used instead of a real life video as you edit the assets in the 3D world rather than editing a 2D video with after effects. The advantage of doing this is that you can actually create a heat effect coming of the 3D models of people within this simulated world. Firstly I saw you can change the visual effects on the game by installing an ‘ENB’. This is a graphical modification to the game and allows for extra features. One of the most interesting features is the heat sync mode which creates a heat effect around everyone character in the game. I modified it so it was brighter and recorded my screen while the game ran. I then uploaded the video file to after effects where I edited the contrast and colours of the video. Overall the finished product looked as close to infrared you can get without an actual infrared camera.
Final concept –
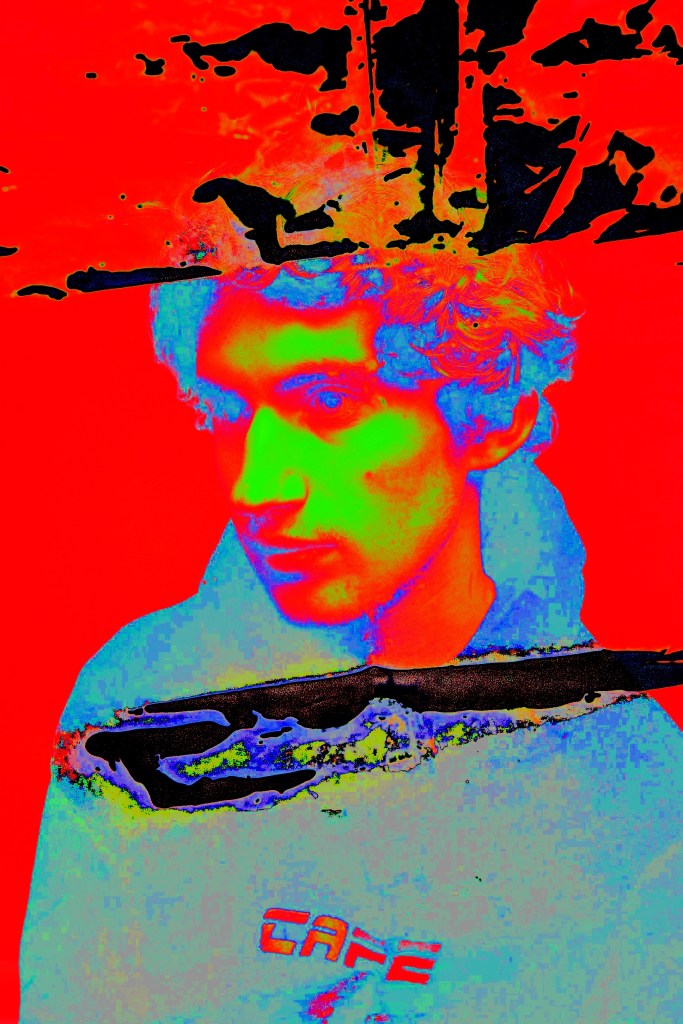
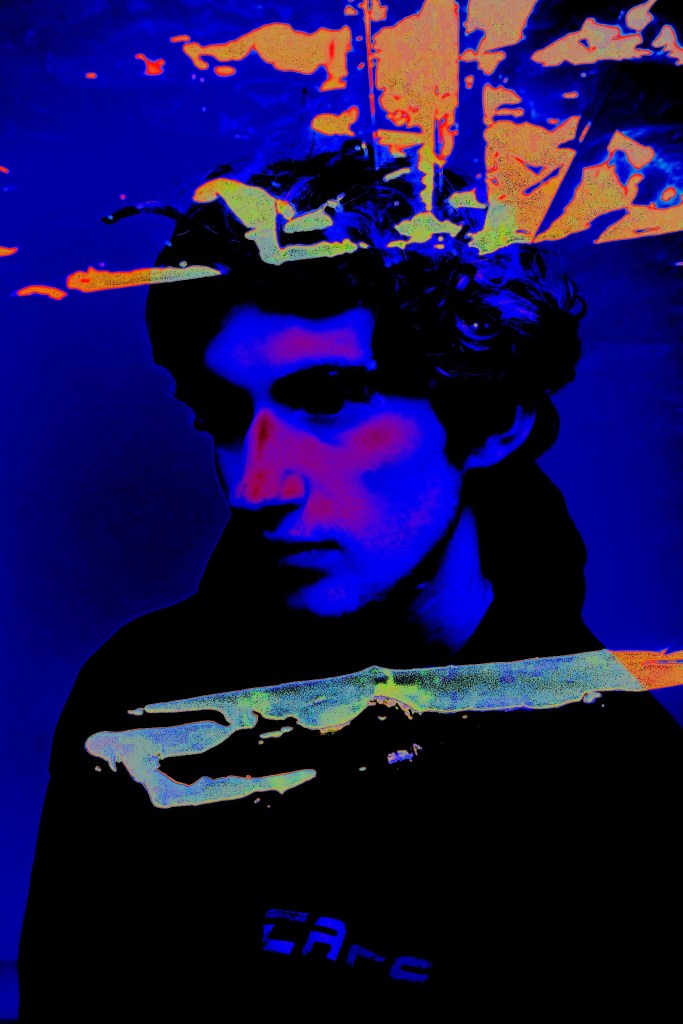
During this point, I knew due to the situation I would not be able to use an actual thermo camera and achieve my desired affect. However, it did not stop me from experimenting in a different way to get a similar effect as a heat camera would. In terms of equipment I would use, would be a Cannon 90D dslr in order to shoot my portraits. After that, I would use this app called hyperspecktiv. How I wanted to display it and present it to everyone would be I would use a2 black card with my images enlarged but also the process enlarged and have my blog on a green from a projector and I would talk about my research and influences. As well as my proposed media and equipment.
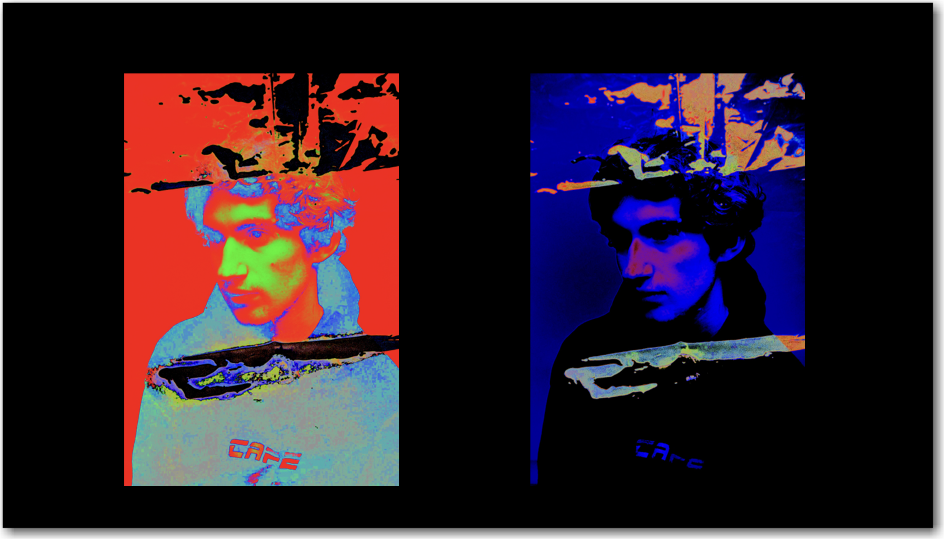
My chosen images before I place them on a2 card
FINAL PROJECT PROPOSAL/ STATEMENT OF INTENT
For my statement of intent I want to express that I have conveyed my ideas as clear as possible.
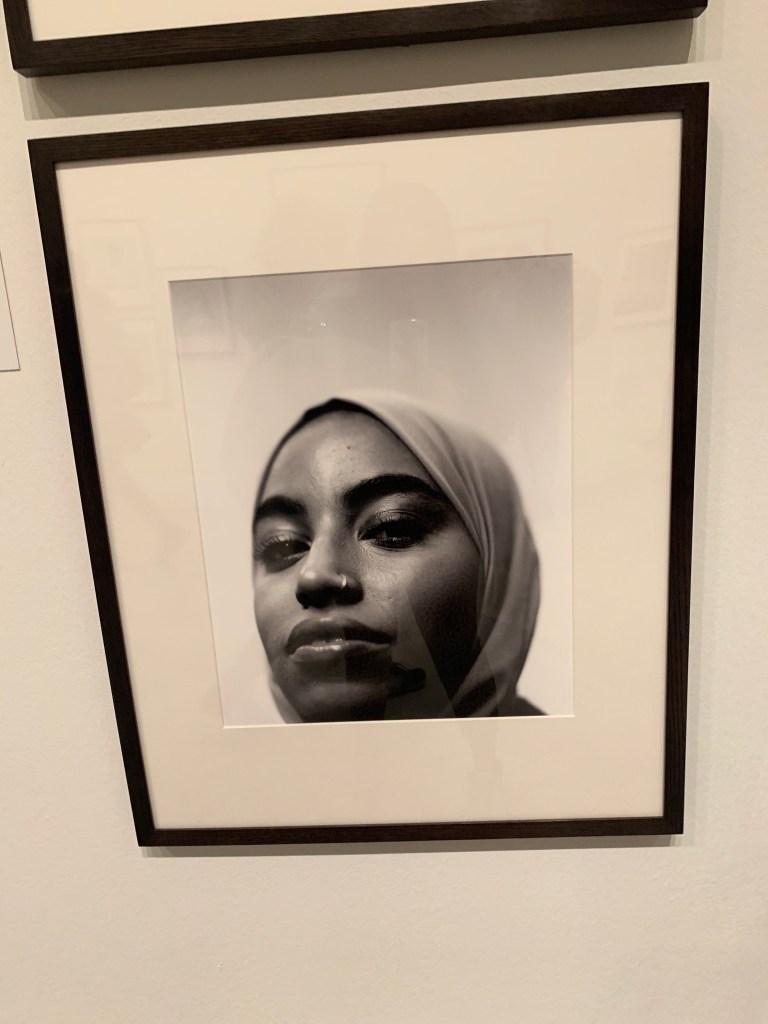
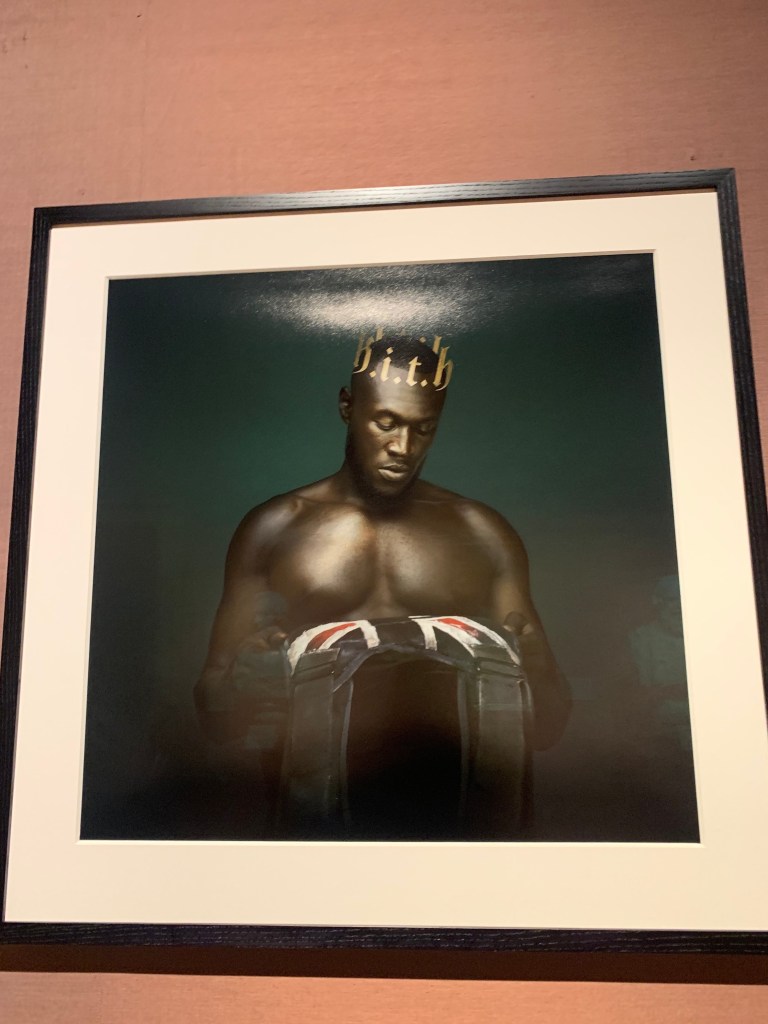
Statement of intent Humayra Ali, Thermal images Transformation synopsis. I will be using rainbow gradient visuals on a enlarged a2 black piece of card, to catch the viewers attention and create an appealing but minimalistic insight. I want to display visuals from a thermo/ heat camera inspired shoot and create a colourful engagement. With each image contrasting and equally placed on the a2 black card to appear in an effective and simple technique, making the viewer able to understand and appreciate the transformation without struggle. How I created the visuals will also appear on a a2 piece of black card, where the audience will be informed of the process, techniques and equipment used. Behind me will be my blog where I have expressed and evaluated my journey of this module. This is where I will mention my influences, my experimental work as well as my research. By the end the viewers should feel as though they can achieve a thermo camera inspired image without the thermo camera at use. As well as understand the relationship in how it transforms an image. Relationship to transformation my two images draws upon different courses of actions a thermo camera involves. In any thermogram, the brighter colors (red, orange, and yellow) indicate warmer temperatures (more heat and infrared radiation emitted) while the purples and dark blue/black indicate cooler temperatures (less heat and infrared radiation emitted). Therefore, implies how an ordinary studio image is transformed into two different types of thermo images. My thermo concept draws upon the history of uses for thermograms and thermo imagery and how there are may uses of using thermograms to transform an image. Evidence of practical exploration, started of looking at different uses of thermo cameras, (inserted above) but also different techniques to achieve a similar look. If a thermo camera is not accessible. Key References Prior to my tutorial, i have been inspired by the following materials which have aided me in choosing my proposed project. For example, Photographs from the Highsnobiety Magazine which included the artists Skepta’s album cover, influenced us due to the aesthetics, two exhibition at Tate called Nam June Paik and Dora Maar encouraged but also secured my choice of theme. The work of artists Laurie Klien and Lewis Morley have influenced me because of the meanings behind the images and how they transformed their images.
Project proposal – How I will talk it through.
Transformation before and after process

Transformation display –
Transformation Research and influences – I will insert my blog where I will discuss my research and influences.

Evaluation
To conclude, for this project/ module, I decided that I wanted to create a minimalistic but colourful piece focusing on the concept of thermal imagery as I have never explored it before, plus I felt it had a more relevant and contemporary feel towards people due to a few artists using it in their album covers. The process of getting the final completed was challenging due to the circumstances, however I tried to use the resources I had in the best way that I could. Regarding the actual dynamic of how the classes took place I really enjoyed them and felt I was engaging in them more in comparison to the others. Due to the circumstances of Covid – 19 all our taught sessions had luckily finished before it, and all that was left were tutorials. I felt that I knew what I wanted to achieve from the beginning however, I did want to use a thermo camera but I was unable to track one. On the other hand I am happy with my overall outcome and what I have achieved and learnt within this module. Plus, that I am interested in this area within the media and could be a possible route to explore in the future.
